Monday, July 28, 2014

Tutorial: reducing the cowl neckline on the Myrtle dress

After exposing my bra to my friend (and most likely many others) while wearing my original Myrtle top out for drinks the other night, I decided to reduce the depth of the cowl for my second Myrtle.  If you are less well-endowed than the C cup Colette designs for, this might be a good adjustment for you, too!  After learning how to draft a cowl neck top in my patternmaking class, I know that this hack isn't precisely an "undoing" of the drafting process that creates the cowl; however, for small reductions in the deepness of the draped neckline, this works really well!

Supplies:
  • tracing paper (or other large format paper, such as the backside of wrapping paper)
  • pencil
  • long straight edge or quilting ruler
  • Myrtle pattern
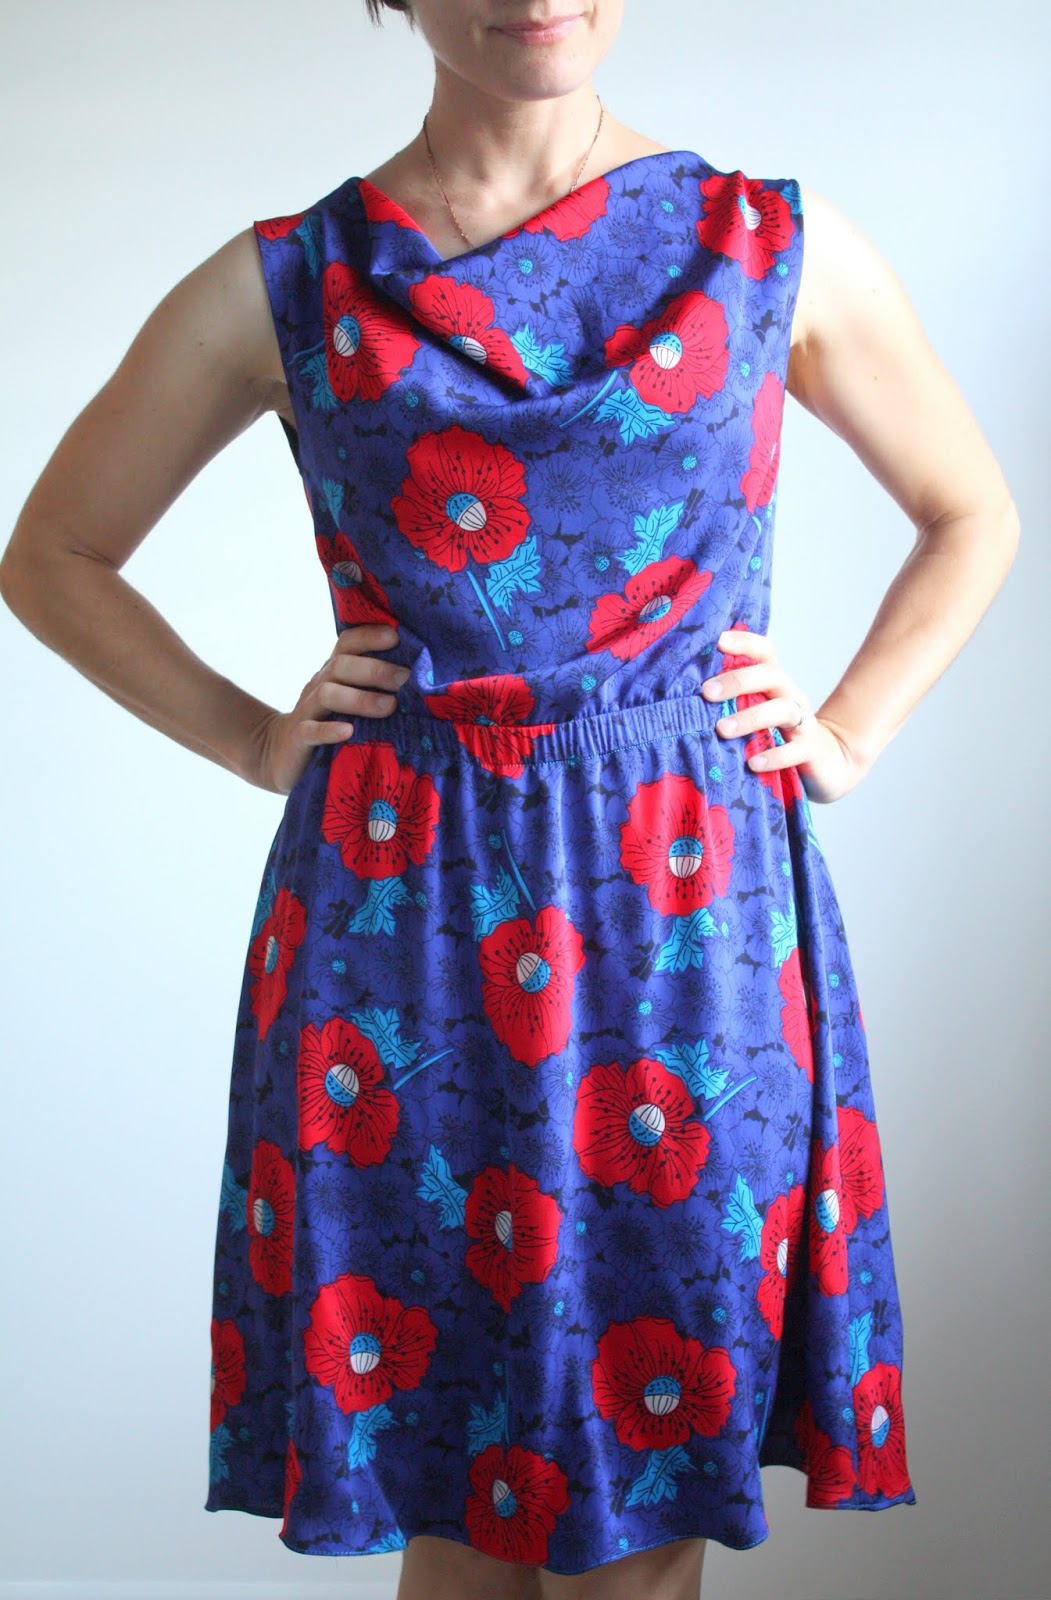
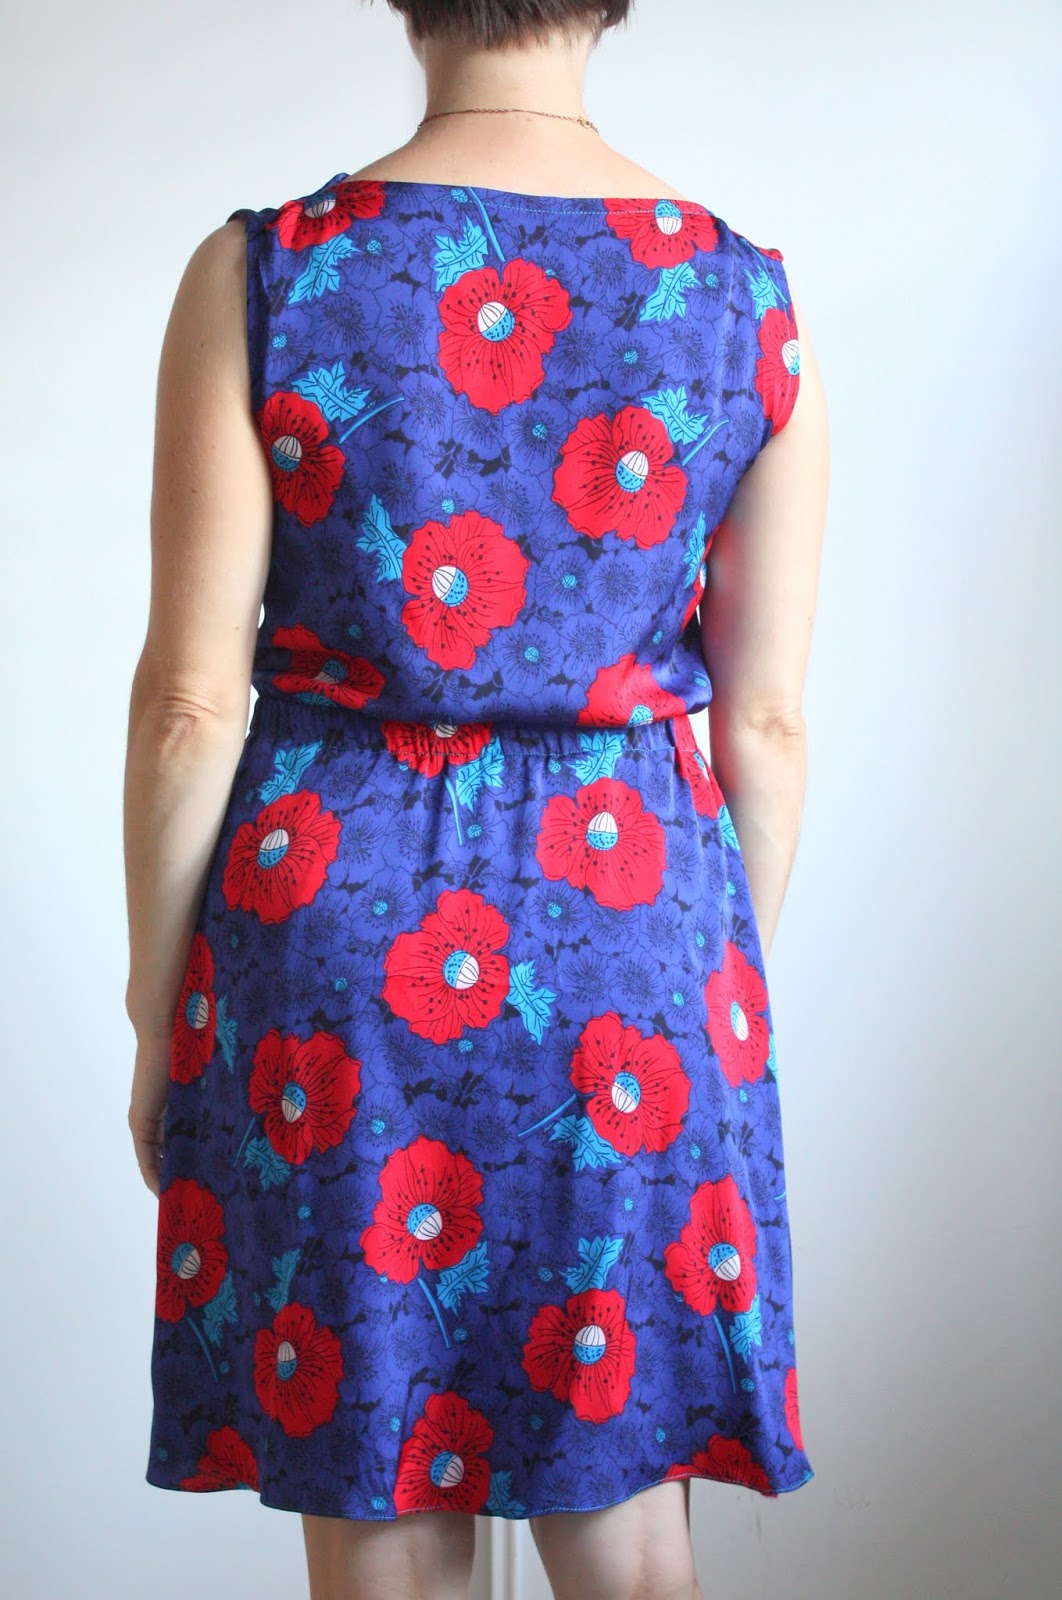
Start by folding Piece A (Front Bodice) in half along the dotted line.  We're going to manipulate half of the pattern and then mirror the final product at the end to recreate the doubled-front of the Myrtle dress.
On your tracing paper, draw a long straight line (I drew mine in red).  This is center front.  Position your folded bodice front along this straight line and trace the original pattern.  Then, set your original pattern aside.  My traced pattern is in green, below.
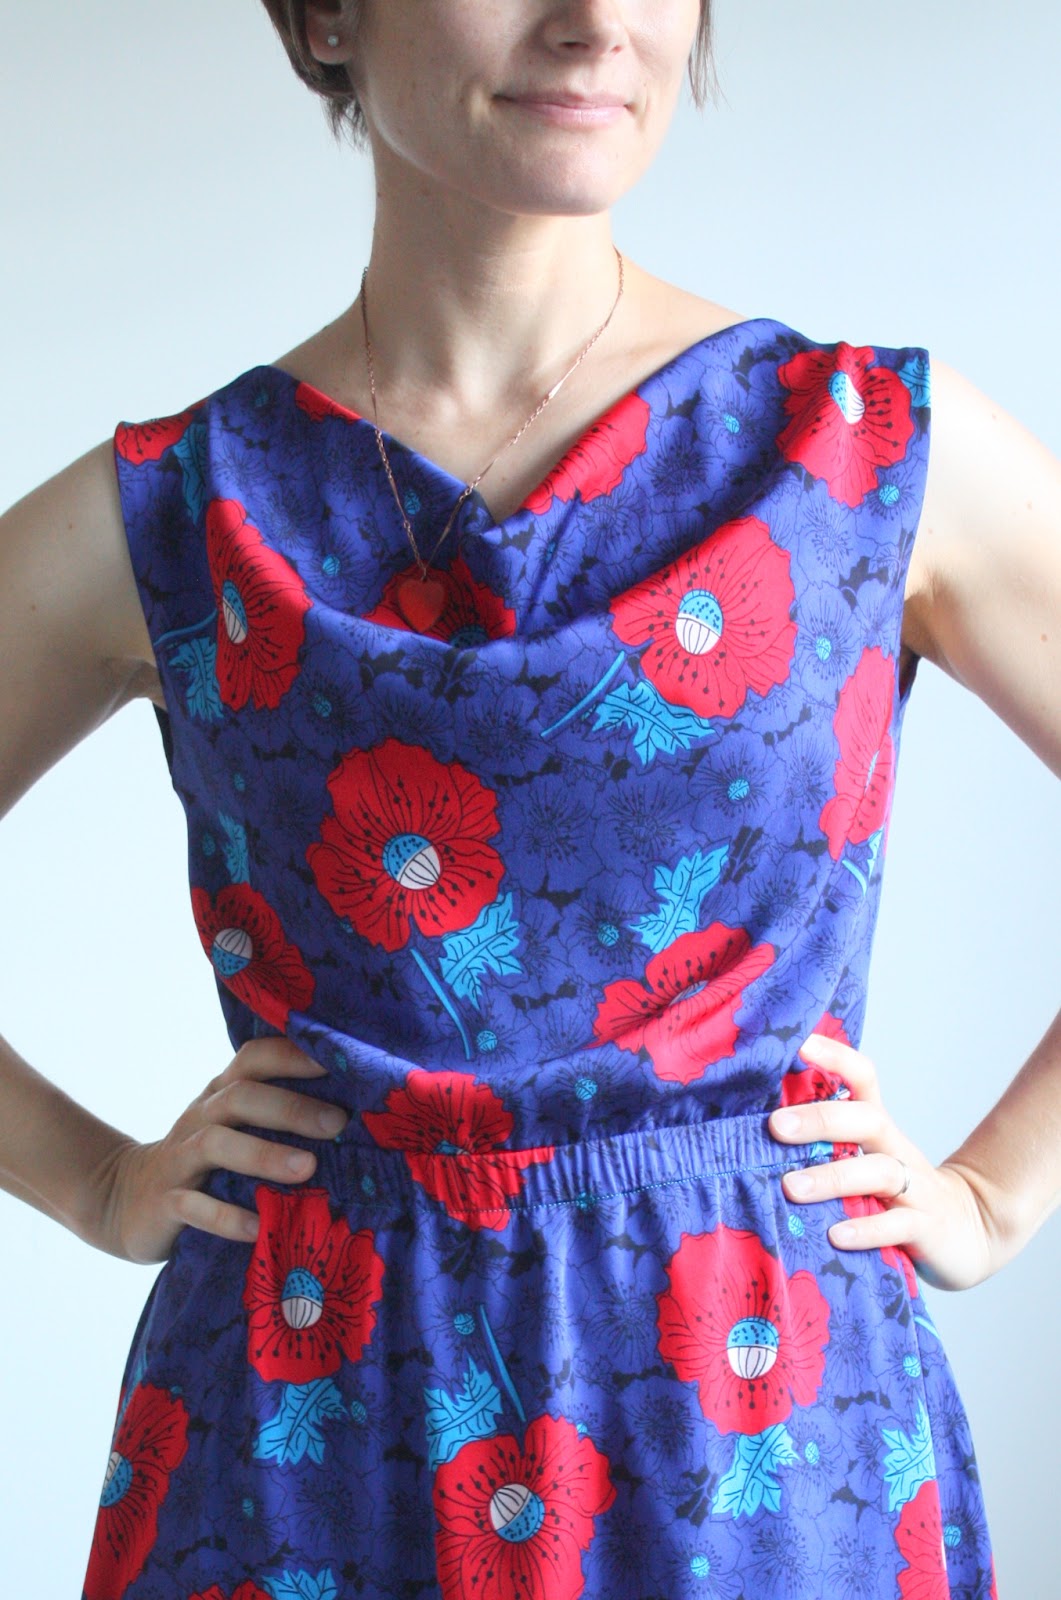
For my top, I reduced the cowl by removing a wedge from the center front equal to about 2" at the widest (at the upper neckline) tapering to 0 at the waist.  This may be too much for some people, so a muslin is your friend here!  To remove this wedge, position a straight edge ruler at an angle, 1" in from the center front at the upper neckline, angled to 0 at the waist.  Draw the line (mine is in blue).

Since this is on the fold, removing a 1" wedge equals 2" on the final garment.  Next, cut along the newly drawn line (this is the new center front) and the rest of the traced bodice.  (Image not shown, but trust me, I cut out the bodice :)
Now, fold another length of tracing paper twice as long as the bodice length + a few inches extra. Position your traced+cut bodice with the upper neckline at the folded end of the paper (it doesn't have to be on the fold, just near) and the center front right along the edge.  Tape the bodice to the tracing paper and trace the pattern yet again (I did it in black this time).    
Position your straight edge ruler such that it is exactly perpendicular to the edge of the paper (parallel to the fold) and just touching the shoulder point closest to the neck.  Draw a new line connecting the shoulder point to the center front. (You may want to cross out the previous neckline line to avoid confusion.)  This new line represents the "dotted line" on the original pattern piece A.  

Now, refold your long piece of tracing paper so that the fold exactly matches your new neckline. 
Before: New neckline is perpendicular to the fold of the tracing paper as in previous image.
After: Repositioned the fold of the paper to match the new neckline.
Finally, cut around your traced bodice leaving the folded edge uncut.  
Now when you open the folded tracing paper, you should have a lovely mirror image of your bodice, just like pattern piece A! 
Comparing the pieces side-by-side, you can see that the revised version (on the right) is slightly longer and narrower at the shoulders than the original.  This will raise the neckline and reduce the amount of fabric that drapes at the center front.  

Hope this helps and contact me if you have any questions!


Sunday, July 27, 2014

Myrtle dress in stretch silk

After making my wearable muslin top of the Myrtle dress by Colette Patterns, I immediately geared up for making a second version.  I made some pattern adjustments: reduced the depth of cowl (tutorial up tomorrow!), as well as some petite adjustments of the bodice at the waist AND the upper bodice to shorten the armholes.  I also redrafted the armholes a bit to make them slightly more curved at the bottom and narrowed the back bodice at the shoulders.  After all that, it fits great!
For the fabric, I used the most incredible stretch silk from Britex (unfortunately no longer available).  I washed and dried the fabric (on gentle and low heat) and it looks just as good as it did when before pre-treatment.  The stretch is significant and the fabric has a easy-to-sew texture and weight.  It's a gorgeous fabric and was a pleasure to sew.
Since the fabric isn't quite as stretchy as a knit, I finished the arm and neckholes with purchased bias binding.  I know, I know, purchased.  I'm okay with that :)  The hem was sewn with my narrow rolled edge foot.
I left off the pockets for a few reasons.  First off, I don't love the shape of the provided pockets--they kind of flap around if not attached at the waistband.  Yes, I could have redrafted them, but....Second, the fabric is so light that I didn't want to put any lumps or bumps under the skirt.  So, no pockets!
I love that the dress is dressy enough for any dinner date I might be fortunate enough to have (especially in Northern California), yet I could definitely pull it off for teaching (with a lab coat for messy labs, of course!).  
I can definitely see more of these dresses in my future!  

Be sure to check back tomorrow for the cowl neck reduction tutorial!

Resewlution 2014: July garment #3


Friday, July 25, 2014

Cropped Myrtle dress and pattern review

I guess it's a little silly since I just drafted and released my own (free!) cowl-neck pattern, but I just had to buy Colette's newest release, the Myrtle dress.  It was like a black hole, just pulling me in: I couldn't resist!  I love a casual dress, and this pattern looked like it would be pretty versatile. And it is!
In a mad effort to use up stash fabrics, I pulled out this very stretchy knit (purchased online at Michael Levine a while ago) and started cutting before I realized I wouldn't have enough for a dress.  Such a rookie mistake!  No matter, an abbreviated version (aka, peplum top) works well, too!  
This was my wearable muslin, so I cut according to my measurements on the sizing chart and went with XS.  Overall, the top was a bit big in the shoulders and chest, and especially in the deepness of the cowl. With the slightest waist bend, you can see down to my belly button.  So not a good thing!
The back was also wider than I normally like, which makes the top a bit shifty.  However, it's probably because instead of folding and stitching the back neck and armholes, I used self fabric binding on the edges, which increased the overall width.
I made my usual petite adjustment in the bodice (reduce by about 1"), which was needed.  The length is good, but the armholes were a little deep for me, too.
Okay, that's a lot of sizing complaints, but that's why I do muslins!  For my next version (already sewn!), I altered the pattern to fix all my fit issues.  Overall, the pattern is great--I love the construction of the top and the wide elastic waistband.  I've made it in this slinky/stretchy knit and a stretch silk, and both are lovely and comfortable.  Definitely a pattern that can be dressed up or down with fabric choice (and accessories).   Stay tuned for version 2!

Resewlution 2014: July garment #2

Wednesday, July 23, 2014

(Another) perfect polo for my littlest man

Kids Clothes Week was just the thing I needed to get my mojo back.  I've been sewing a little bit, but I haven't felt like it was going well--lots of struggles, some unblogged failures, that darn washed fabric. For me, kid sewing is like down-shifting: the sewing is fairly easy and the pay-off is pretty big.  So far this KCW, I've already sewn some Oliver+S Field Trip cargo pants (made into shorts) for my bigger boy and some pajamas for both guys (all using up stash fabrics, hooray!), but this top is the one worth posting.  
The pattern is Blank Slate's Perfect Polo, and I've made this top here and here already.  It's a lovely pattern, but I always need to increase the length of the collar--it seems to be about 3/4-1" short in my hands.
For the fabric, I used more of my stash--the putty cotton/Spandex is leftover from an unblogged Julia cardigan.  It's super high-quality--medium-heavy weight, washes well and doesn't look like it will pill. My little guy wore this shirt all day to daycare (even playing soccer and taking a nap) before I took photos.  The cotton print is from the Mod Squad collection.
I kept the shirt modern and left off the buttons entirely.
I know he's mine, but could this kid get any cuter??
After getting back into my sewing groove with this cute top, I went back to some selfish sewing with great results--I'll share soon!


Thursday, July 17, 2014

Poolside Tote by Noodlehead

I'd like to say that I needed a new bag to haul all our towels to the beach, but the truth is, I haven't been to the ocean yet this summer (insert sad face *here*).  No, this bag is the result of falling in love with this navy-gray canvas with silhouette birds (Birch Flight in Dusk).  As a participant in the Bag of the Month club (thank you Samantha!), I got to see 6 really wonderful bag patterns before general release, and Anna of Noodlehead's Poolside Tote was the perfect pattern to show off this great print.
Unfortunately, I made the mistake of pre-washing the fabric.  After washing and drying the lightweight canvas, the blue-grey was blotchy and creased.  It was heartbreaking, but I decided to go through with my plan anyway...and pretend it's a purposeful "broken in" look!
A quick trip to Hart's (15 minutes in a fabric store--a record for me!) and I selected a wheat-colored canvas for the handles and Art Gallery's Cubisme quilting cotton for the lining.  (And yes, for those who know the area, I was about a mile from the ocean at Hart's but a trip to the beach wasn't in the cards that day...)
Since the canvas was so light, I used Annie's Soft and Stable for some firmness.  I haven't worked with this product before and I quickly learned that a walking foot is essential!  Even still, I had a hard time keeping the stitches even.  I do like how the bag stands on it's own, so Soft and Stable does the job!
I had to make some judgement calls on the stitching around the top of the bag--I wanted it to blend in with the fabric (mostly since my stitches were being all wacky), so I couldn't sew over the tan straps with my blue thread.  I started and stopped at the junction and then hand-stitched the facing at those locations on the inside. 
 Metal zippers make everything look more awesome!
The bag is BIG, but designed just right so it doesn't drag on the ground while holding it by the handles (even for short me!).   Perfect for blanket, book, and lunch (and sunscreen, water bottle, etc. etc.).  
Inspiration for a trip to the beach?  We'll see... :)

Monday, July 14, 2014

PJs for my Grandpa

I miss my Grandpa--living clear across the country from my entire family, I don't get many opportunities to head back east to visit him.  So while watching the episode of the Great British Sewing Bee where they made men's pajamas (which, incidentally has been removed from YouTube and now I can't watch any of the episodes---waaaah!), I decided to sew up a pair for my Papa.  The prospect was a little daunting, though, given that his wife (my Grandmother Lucille, who passed when I was 8) was an exceptional and prolific seamstress.  I knew I was going to have a serious bar set for my work!
I used Vogue pattern V8964 and my sweet Aunt Claire provided the sizing information.  I made View D, with the only change to replace the hem pockets with a single chest pocket, giving the PJs a more traditional look.  I love that the bottoms have a functional fly front (open, with a single, hidden button to close), elastic waist AND drawstring.  I didn't take photos of the inside, but the seams are just finished with simple serging.
For the fabric, I spent some serious time on Mood, looking for a suitable color and pattern for my Grandfather and ended up with this grey and blue striped shirting from Theory.  It's just right for pajamas, nice and lightweight, but not see-through.  He said the pajamas were really soft, so that made me happy!

My Grandfather graciously agreed to having his photo taken and posted ("If you think I look alright", he said), so here he is:
Doesn't he look seriously dapper?  There were definitely some happy tears seeing my Papa, from almost 3000 miles away, in some jammies I made :)

Tuesday, July 08, 2014

Blue ribbon dress

No, no awards were won for this dress--hope I didn't misrepresent myself there!  However, the fabric (Anna Maria Horner's Flower Circuit in linen) is what I bought with a gift certificate as part of the prize for my winning skirt from Skirt Week 2013! That counts for something, right?  Mostly the print just reminds me of fair ribbons...you see it, too, yes?   I've had this fabric ear-marked for this dress from the start, so it's a shame that it's been about a year sitting in my stash.  The linen is a bit scratchy, but I wore it for the afternoon and it wasn't awful.  The things we do for fashion!
This is my fourth (first, second, and third) versions of the simple and flattering, yet unfortunately out-of-print Vogue V7871.  I altered the pattern as I always do by adding pockets (on seam, using the sweet Jay-Cyn Dottie print quilting cotton):
I also changed the neckline just a bit; instead of a more boat-neck shape, I lowered it to a slight scoop neck. It wasn't as dramatic of a change as I had hoped, but after 4 versions, I wanted something a little different!
I made an effort to match the giant pattern, and it was a failure almost all around.  I've been distracted lately by kids at home and other more major things going on, so my best efforts were not as good as I'd like.  Oh well!  Here's a view of the serious un-matching in the back (along with the wrinkles from sitting through dinner in a linen dress):
For the construction, I used a serger to finish most edges and cut the facing with the dotted cotton with bias binding.  You can see on one of the pockets that I cut into the selvage--why not use those extra fractions of an inch? :)  I also bias-bound the cap sleeves on the inside.  It makes for such a clean finish.

I didn't try on the dress until the very end, to determine the hem length and it fit just right.  I love tried-and-true patterns!  
Resewlution 2014, July garment #1