Sunday, November 23, 2014

Self-drafted trousers: two brown versions

Wearable muslin (left) and final draft (right).  Slight changes make a big difference!
As part of my patternmaking class, we were tasked with drafting a pants sloper from measurements (I used my own) and then creating a "style" from that basic pattern.  The process of drafting pants isn't too difficult, if you just accept that multiple drafts are required!
This first pair is my "wearable muslin" after doing some true rough drafts.  They have a yoke-like waistband, zipper fly and front pockets.  The assignment required front and back creases, which I normally wouldn't add, but actually quite like.  My back creases are off, but I haven't yet fixed them (if I can even un-crease them).
The fabric is a medium weight wool tweed in a herringbone pattern.  In the photos it appears gray, but they are actually brown.
I underlined the entire pair with dark brown rayon Bemberg, so they are super comfortable.
The back has only small darts and no pockets.
And here you can see my issue with this "wearable muslin"--the back waistband dips at center back. So, I added length to the back rise and made a new pair of pants, the ones I actually turned in for a grade.
These are made with light-medium stretch wool from Britex. The fabric is nice and smooth, so I didn't bother lining them.

Both pairs have been worn to work already, and I love them!  Very versatile, comfortable, and classic in shape.

And here's the inside waistband, finished in rayon seam binding.
Phew, that was a lot of brown trouser!  For my next class project (due tomorrow), I drafted and sewed a cross-front leotard our of lycra knit.  I'm not sure I'll be posting images of that because despite fitting well, it's not the most lovely garment on my body (and looks a little wacky on a hanger)!  Then, for the next two weeks, I'll be working on my final project: a full suit, drafted to my own measurements.  I've made all the components at least once already for my classwork, but I'll be tweaking the patterns a bit for my own aesthetic.  Very exciting!

Resewlution 2014, November garments #3 and 4.  


Wednesday, November 19, 2014

Late to the Plantain train

So the free Plantain tee pattern was released by Deer & Doe, what, like 20 years ago?  I had printed the pattern, taped it all together and then promptly slide the entire thing under the bed in my sewing room.  I don't recall the circumstances that put it there, but there it sat for months.  Months.  I finally got tired of sucking it up in the vacuum cleaner, so I pulled it out and made the darn top.  
I can't believe I wait so long.  This is a fabulous pattern.
I used the smallest size (34" bust) and shortened the torso 1/4"-1/2".   I'm not sure I've ever cut a single size for a pattern, but there seemed to be enough flare at the bottom of the shirt to accommodate my larger-than-ideal-proportions waist and hips.
Disco dancing? Sure!
The fabric is Anna Maria Horner Sealing Wax, a beautiful knit.  The fabric is pretty stable and easy to sew, not overly stretchy and is super comfortable to wear.  The print is directional, though, so I wasted a bit of fabric trying to flip pattern pieces around (oops!).
I used my new serger  to sew this one up, and here she is:
After being super duper annoyed with my machine for my last wrap dress, I impulsively bought a machine from Amazon, the Juki MO-654DE.  It's a tiny little thing compared to my 5-thread overlock/coverstitch Singer (essentially this one).  I've only used the new Juki a handful of times, but so far I'm impressed.  I chose Juki soley because it's the brand we have at school for both sergers and straight stitch machines.  I'm not scared of threading sergers (so no need for air-threading or it's price tag),  I just wanted something reliable.  It's quieter, smaller, and faster than my other serger, AND the tension isn't all messed up, so hooray!   I was happy enough to buy a bunch more knit fabric, so  I guess that  says something. :)
Anyhow, back to the tee....if you haven't tried out the Plantain pattern yet, go get it!  It's a lovely staple top and a super quick sew.

Sewing Resewlution 2014, November garment #2 (not counting the 2 pairs of undies I made today... :)

Saturday, November 15, 2014

Wrap Dress (Onion 2037)

After posting about this semi-fail dress, a reader suggested trying out the wrap dress by the pattern company Onion (I can't find a webpage, but you can purchase pattern 2037 here or here).  After dragging my feet about buying another dress pattern, I bit the bullet when I found this lovely Stenzo cotton/ lycra fabric from L'oiseau Fabrics.  It just seemed like the most perfect fabric for a Fall wrap dress.
As I expected, the pattern directions are all in Danish, with no English translation (that I could find, though I've read rumors...) and no drawings.  After extensive online research about the construction of the neckline/ wrap tie junction, a couple hints here and there helped me along (which I can't find now...ergh).
The pattern was quick and easy, and well drafted.  There are some fit adjustments I have to make for my own shape, but I can definitely see many more of these in my future (especially since I just bought a new serger...I'll make introductions when she arrives and impresses me :)  The only changes I made are to reduce the sleeves to 3/4 length.
The neckline is a wide band, which I completely love.  Feels nice and secure (reduced the length by about an inch to make sure it was snug), though it could maybe be pulled a little tighter at the back neckline--we'll see after I wash it.
There is a small opening in the side seam of the dress (I put it on the right side) and the ties wrap around twice, ending up in the back--makes a bit of a waistband in the front, which I like a lot.
I love the feel, weight and quality of this fabric.  I'll be definitely be buying more Stenzo knits...probably for another one of these dresses :)
Sewing Resewlution 2014, November garment #2

Oh, the trouser pattern and garment are done for pattern drafting class (actually,  I sewed two pairs of wool trousers this week using that pattern) and submitted for grading...photos soon!  
(my sleeves are equal length, don't worry!)


Monday, November 03, 2014

Dahlia in baby wale corduroy

So I'm going to be a bit of a grump about this dress.
I jumped on 
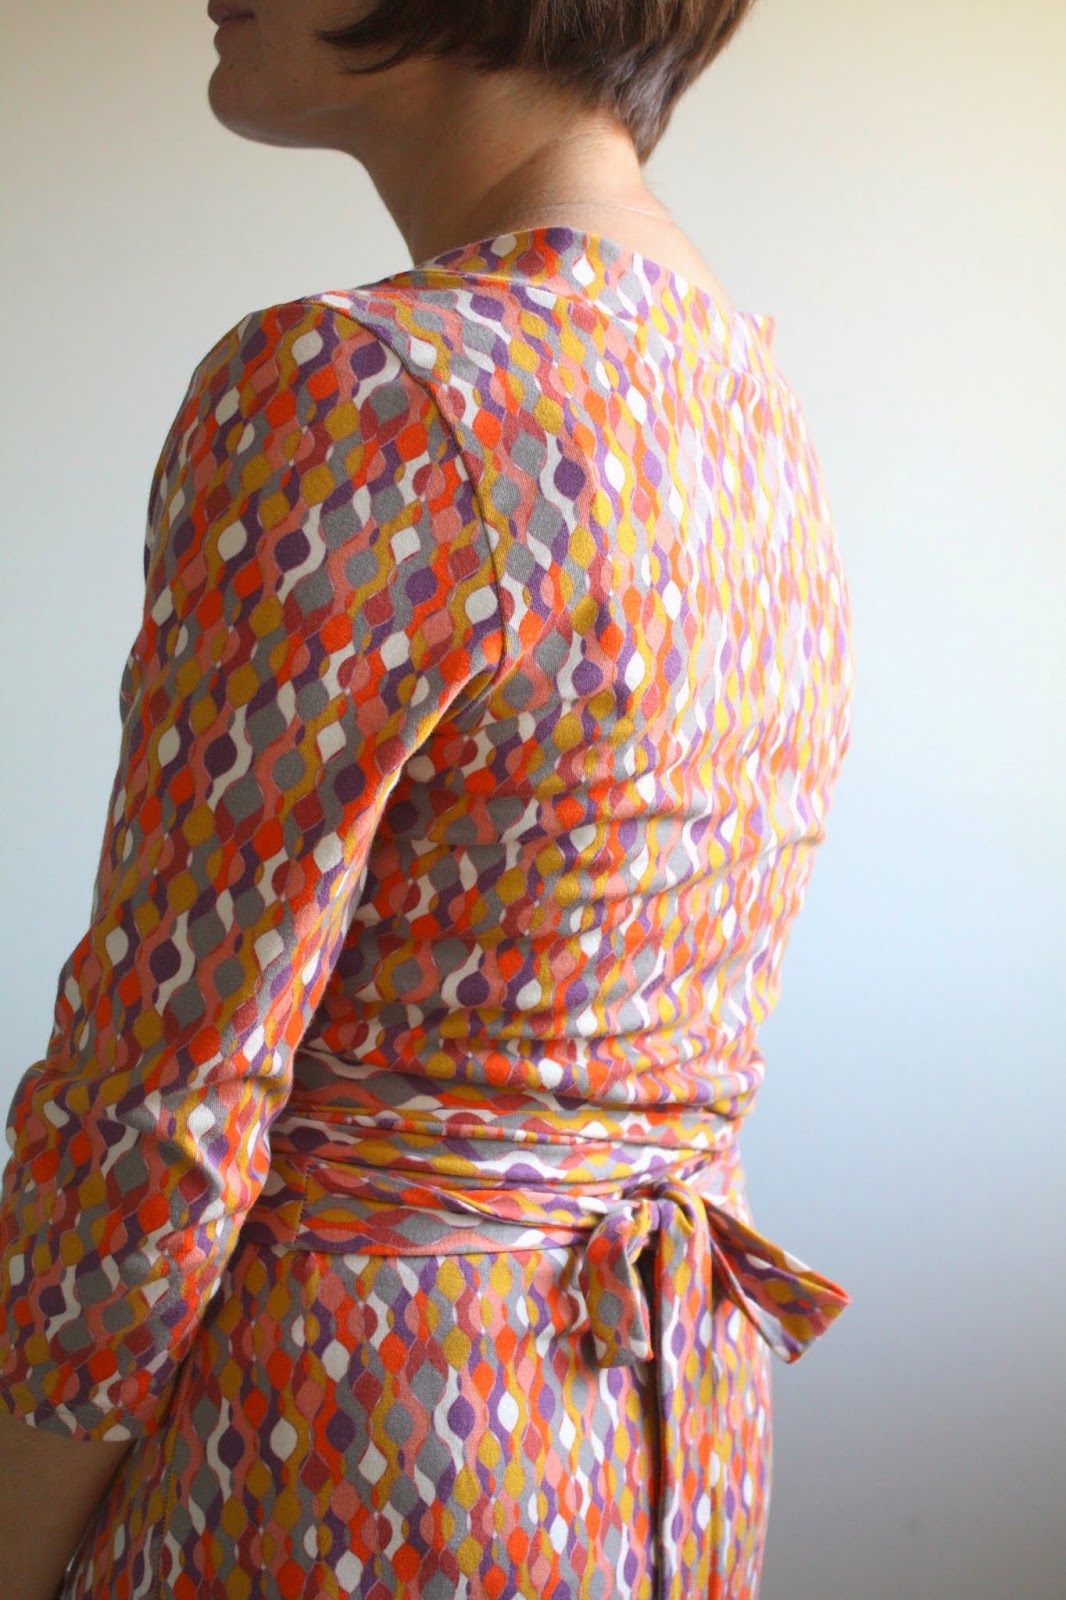
Colette's pre-sale of the Dahlia dress, mostly because I always need work dresses (especially wool!) and I love raglan sleeves.  But when I received the pattern I was immediately disappointed...first off, the dress isn't lined (wool dress - lining = itchy and static-y).  Second, the neckline and sleeve hems are bound with bias tape.  I don't dislike bias binding, but on a dress suggested to be made out of wool? Third, the description definitely says 3/4 sleeves (my fave!) and this sleeve is definitely not 3/4 length.   I know, I know...look at the photos and whatnot, but descriptions are there for a reason.  Grr...
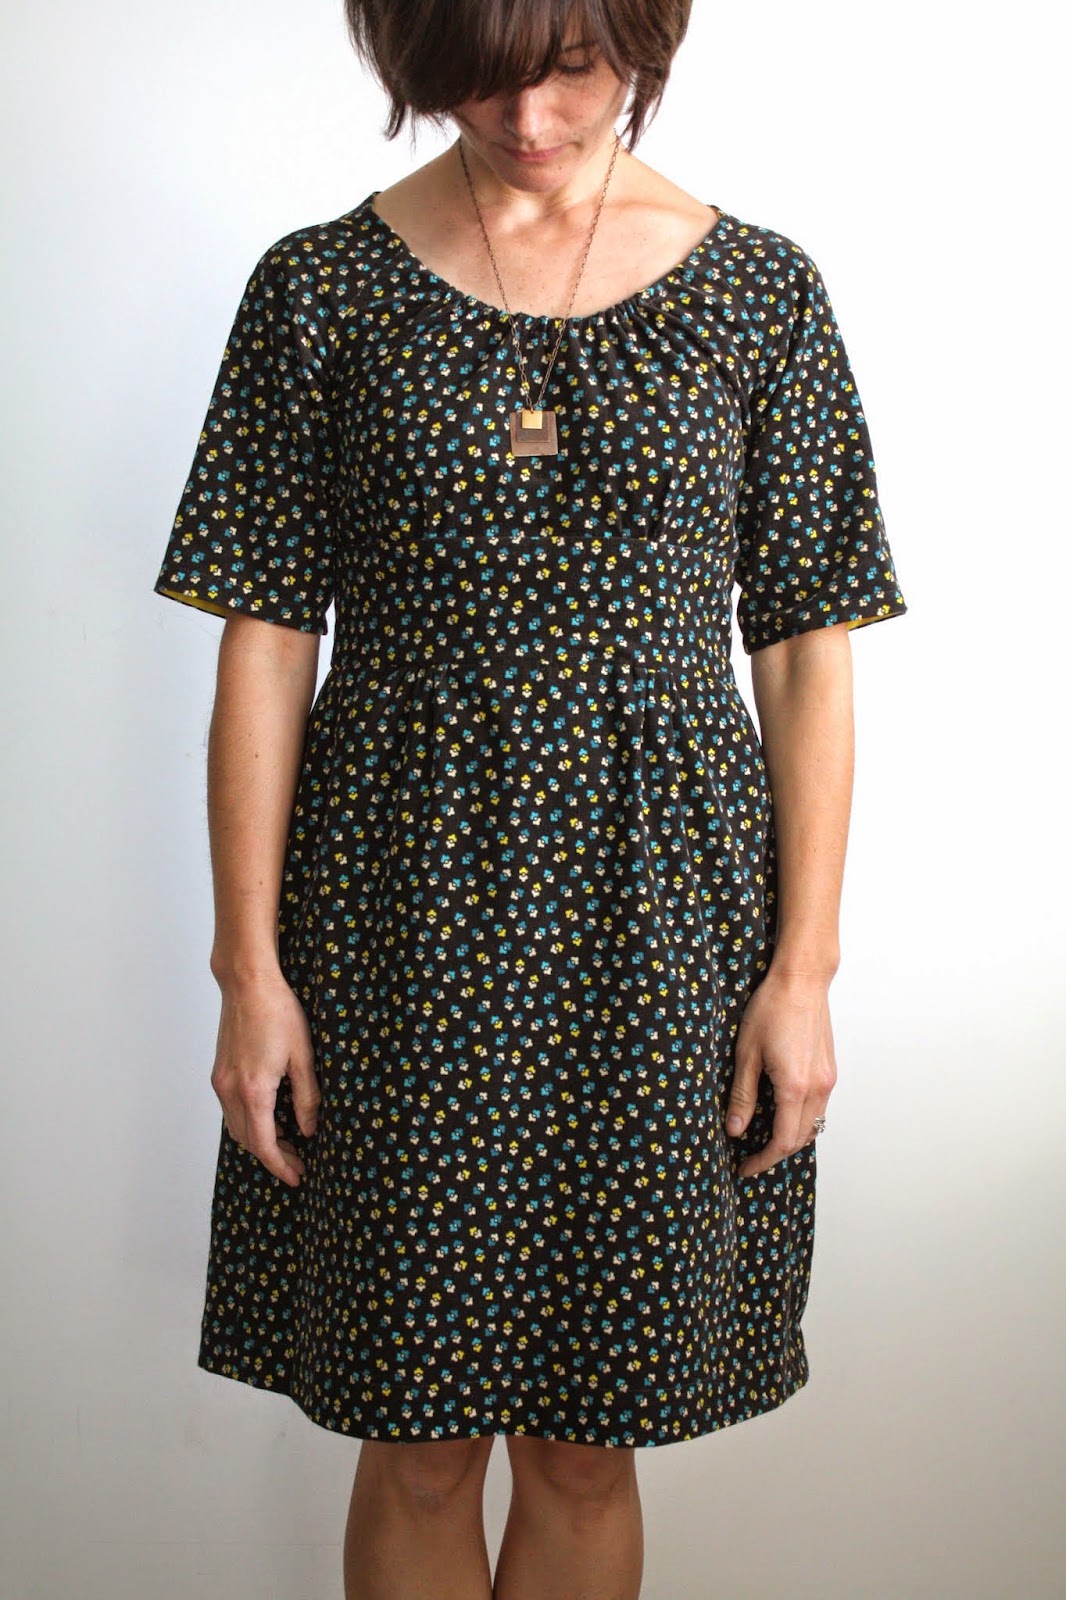
I could have drafted a lining (or used an underlining)....could have made facings instead of using bias tape....but I'm lazy (and have plenty of pattern drafting to do for class at the moment).  So, I used a baby wale cotton corduroy, which makes it slightly more acceptable to not have a lining. 
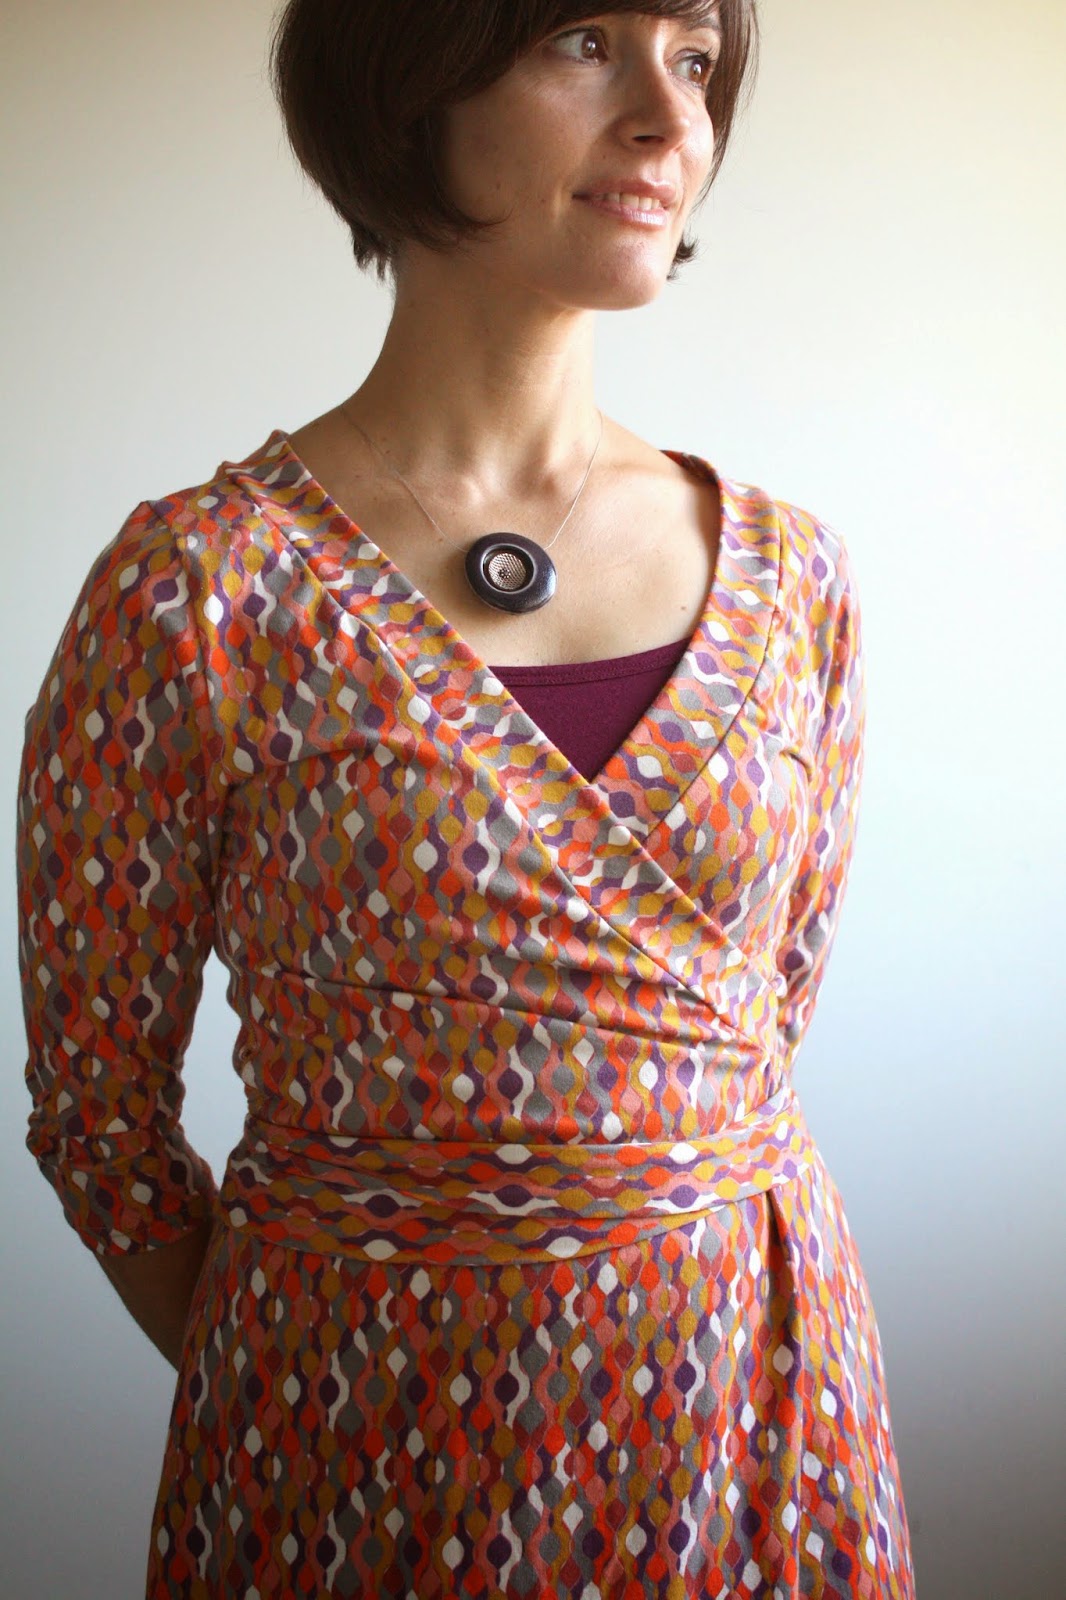
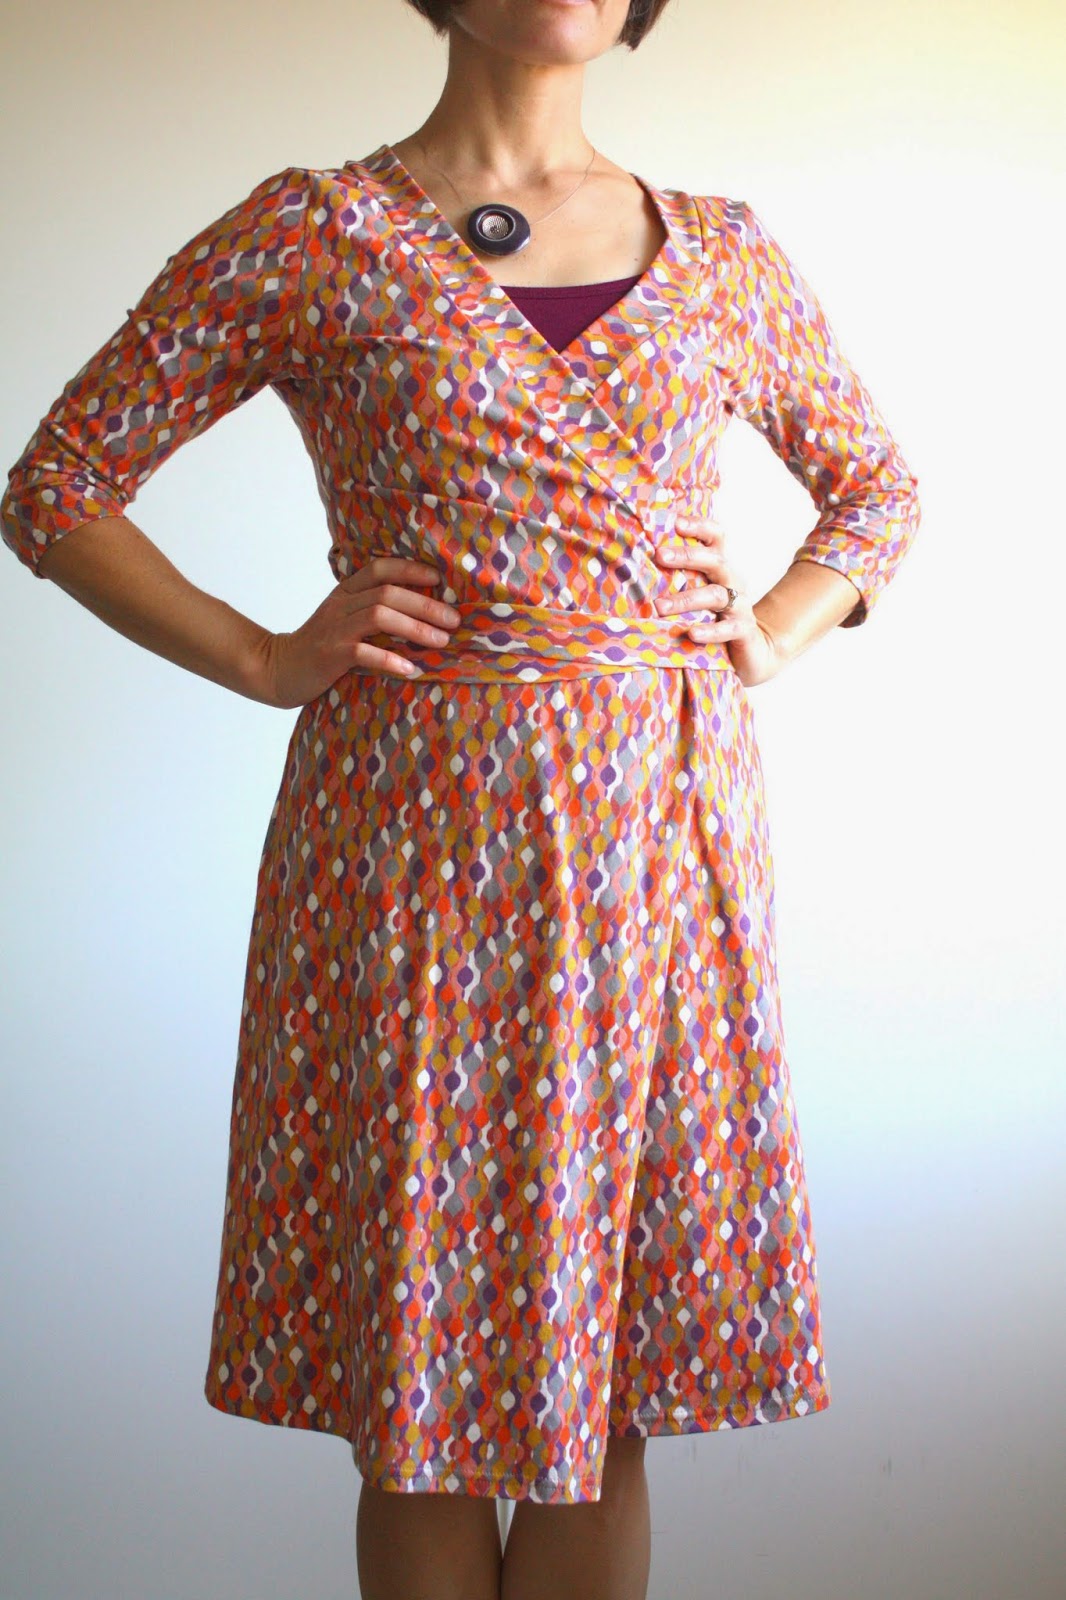
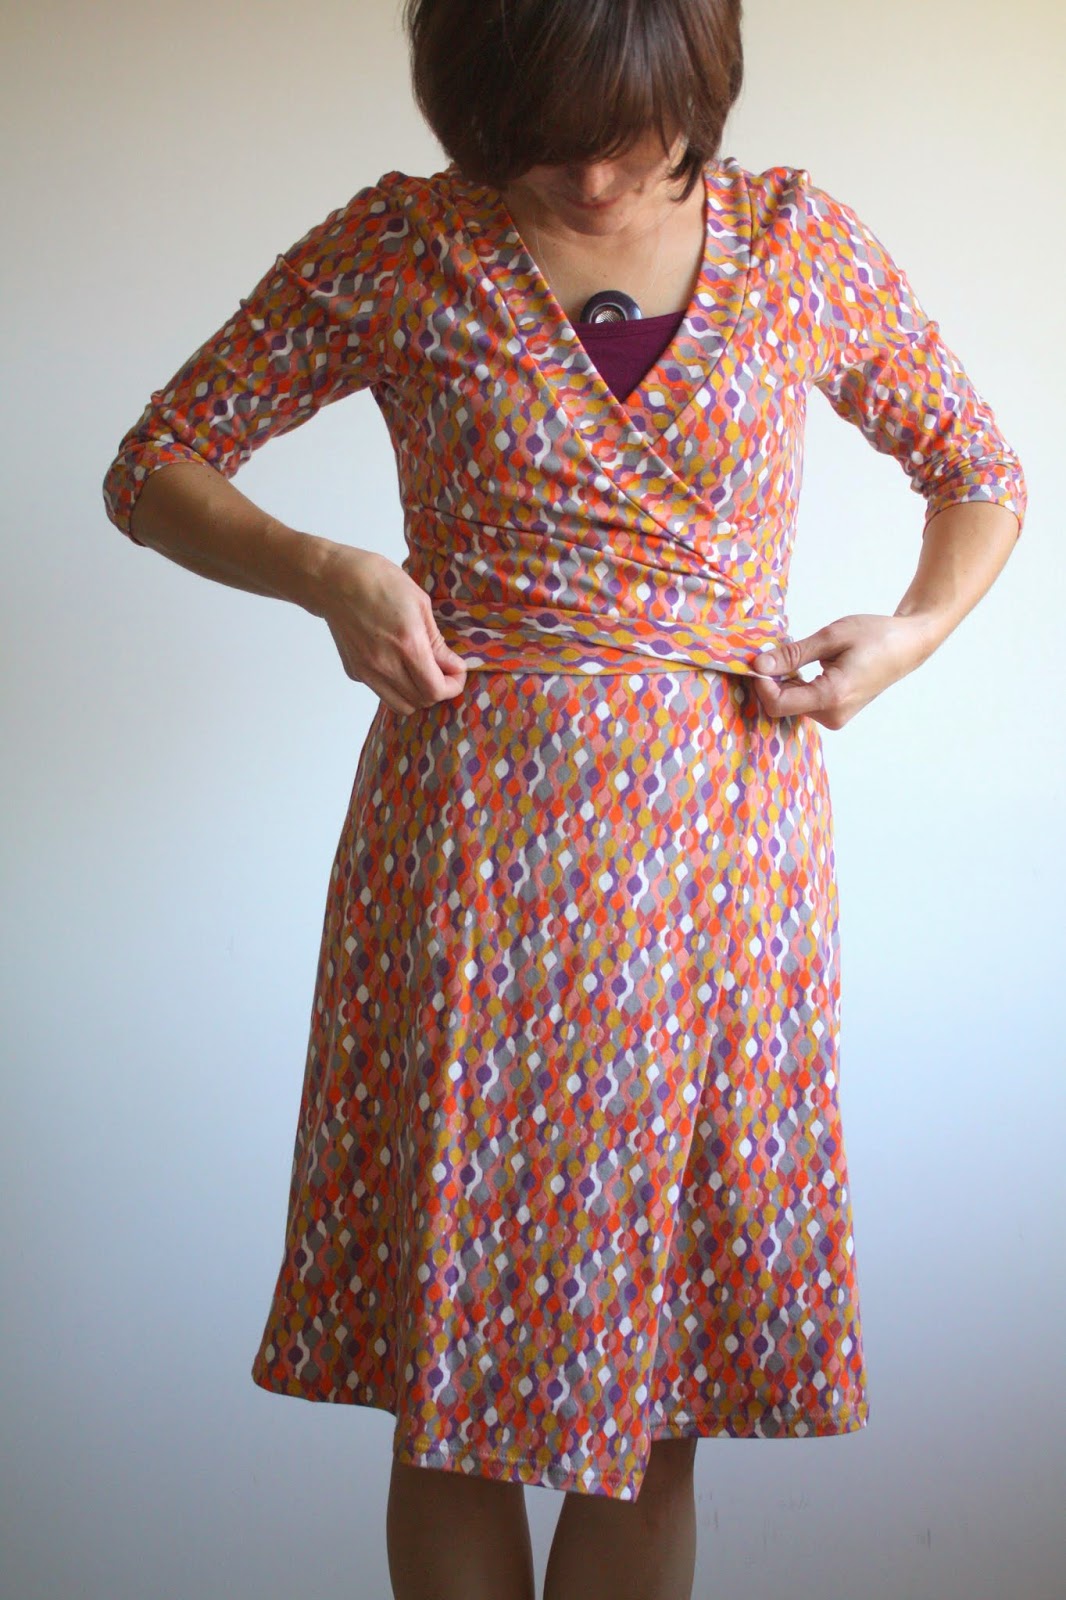
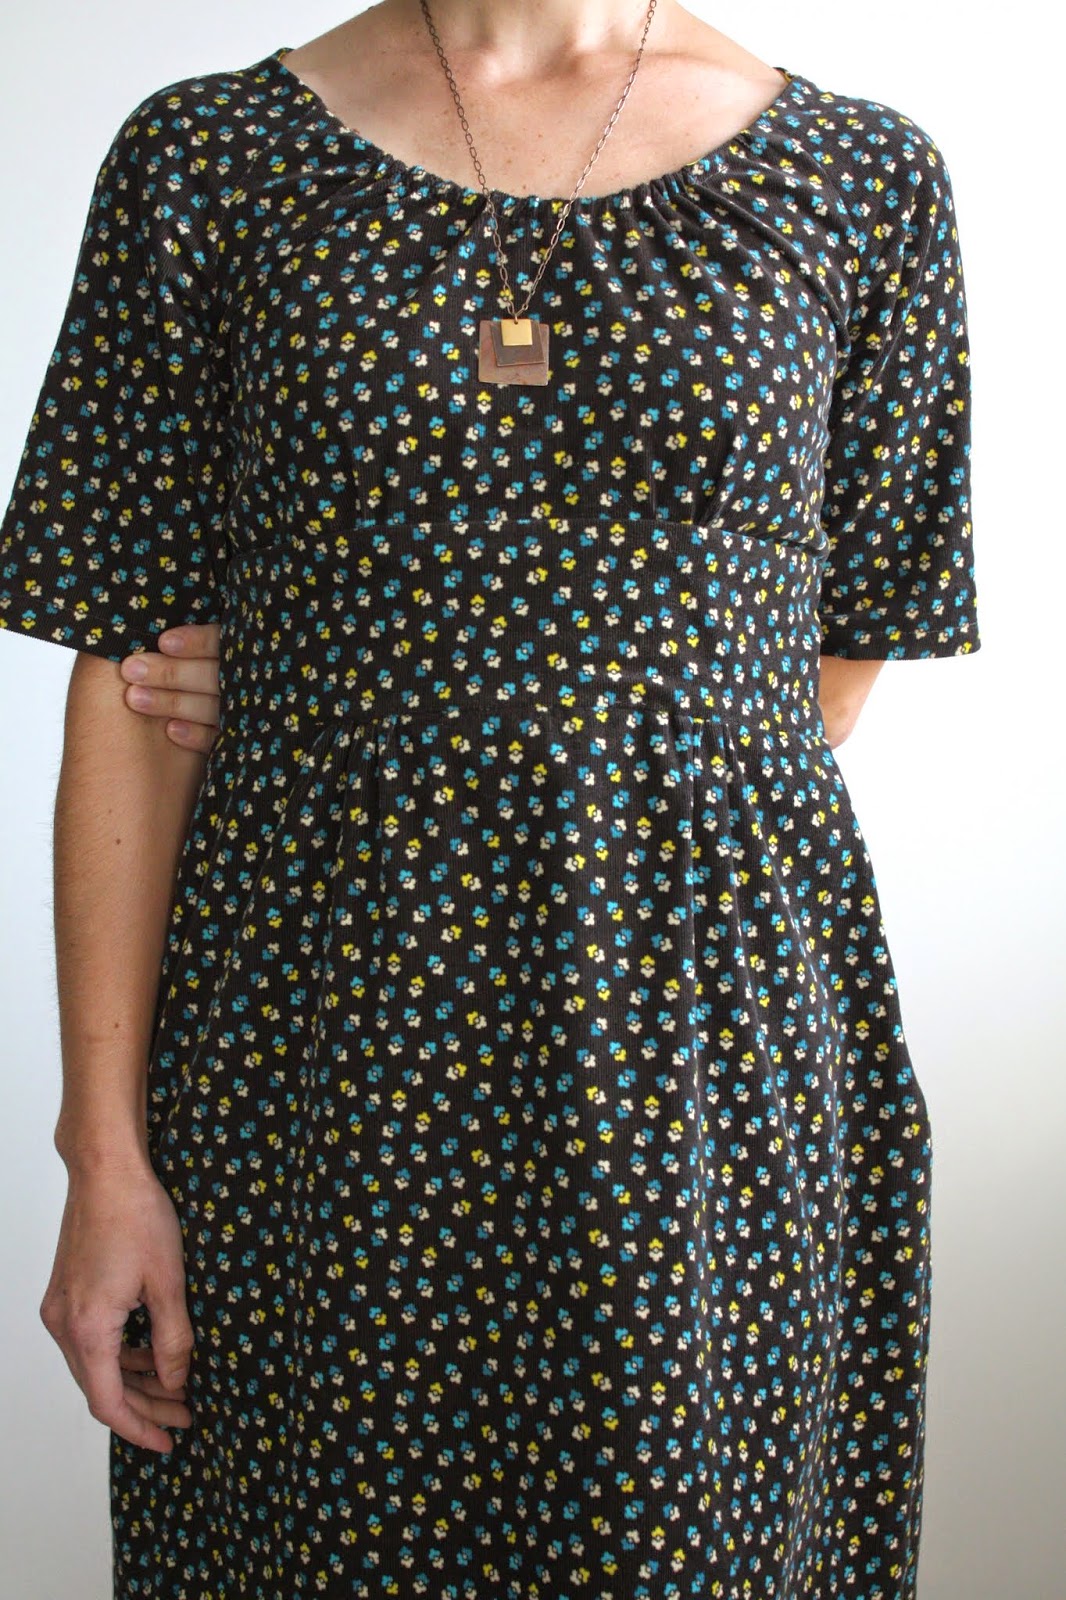
My fabric choice doesn't help this dress at all, since all style-lines are completely hidden.  My husband took one sour look and said, "That looks like a sack."  I can't say I disagree!  Even though I love the fabric,  it definitely pushes the dress firmly onto the frumpy side of the line (though extremely comfortable!  Just like a nightgown!)
My biggest gripe, though, is with the neckline.  When I first tried on the dress, it all fit nicely (with my standard pattern changes, of course: petite adjustment and small bust adjustment), except the neckline.  It was bafflingly wide!  I ended up gathering the back neckline a bit, adding darts to the top of the raglan sleeve, and adding elastic to the front neckline to pull it in even more.  Much better, but I'm not sure how it was supposed to have worked without those changes!
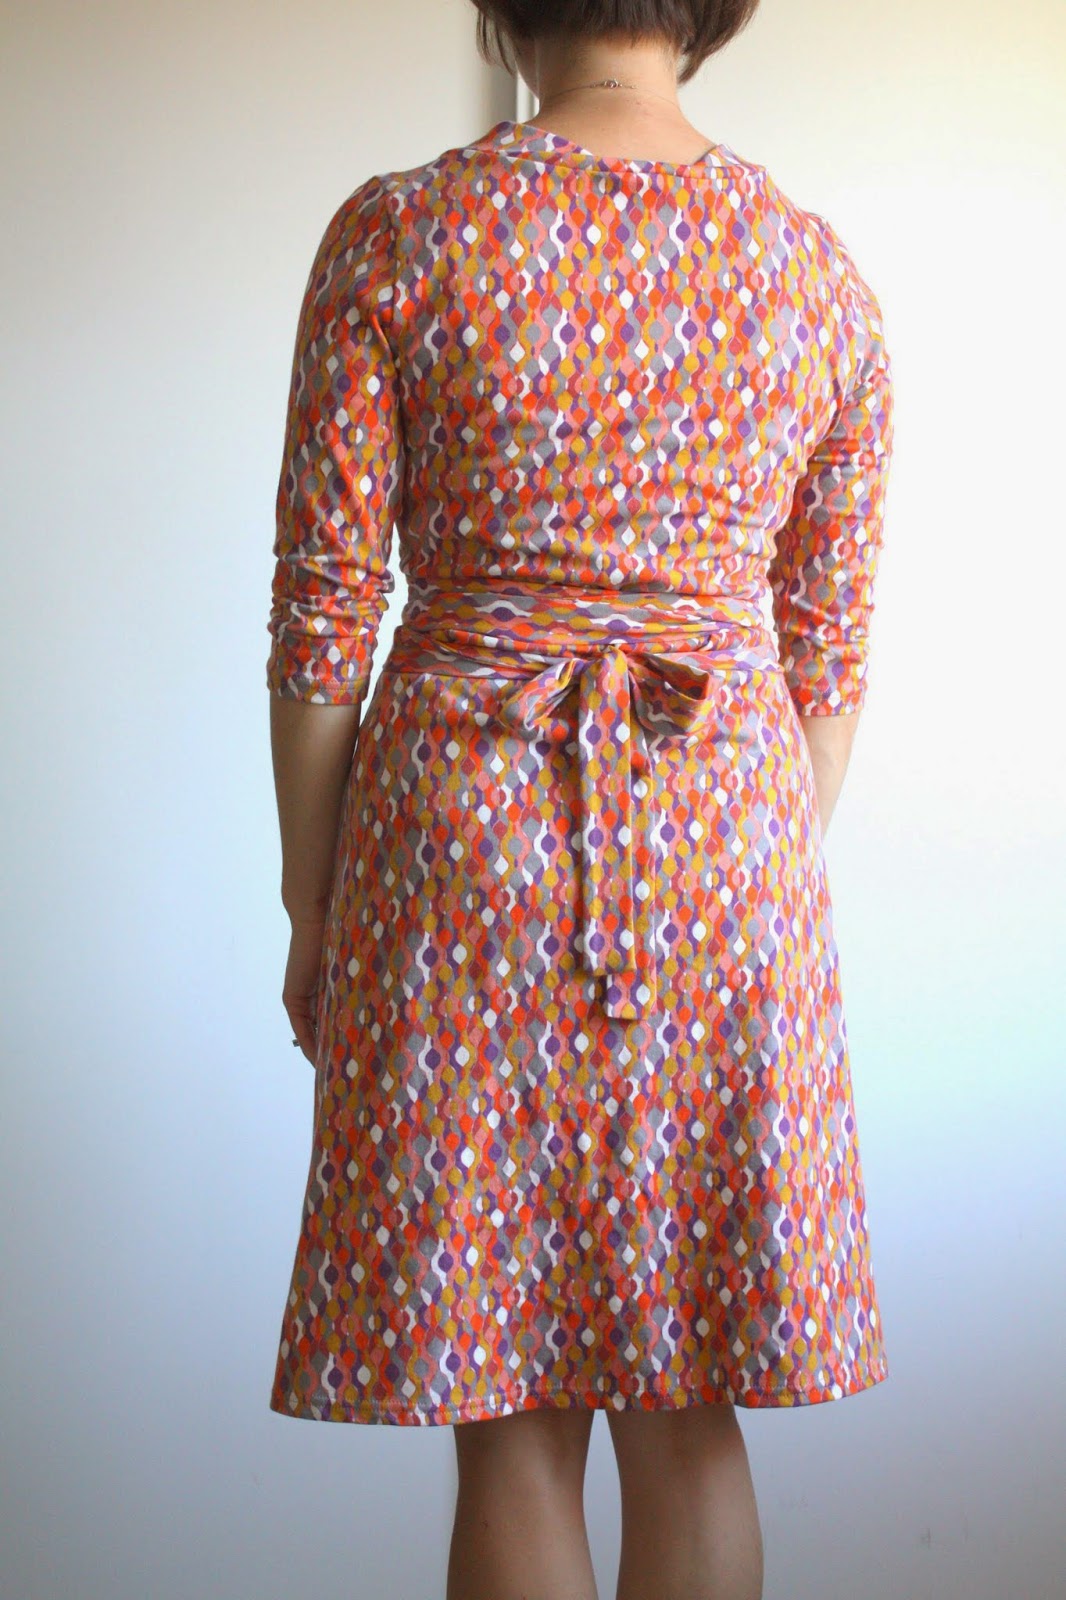
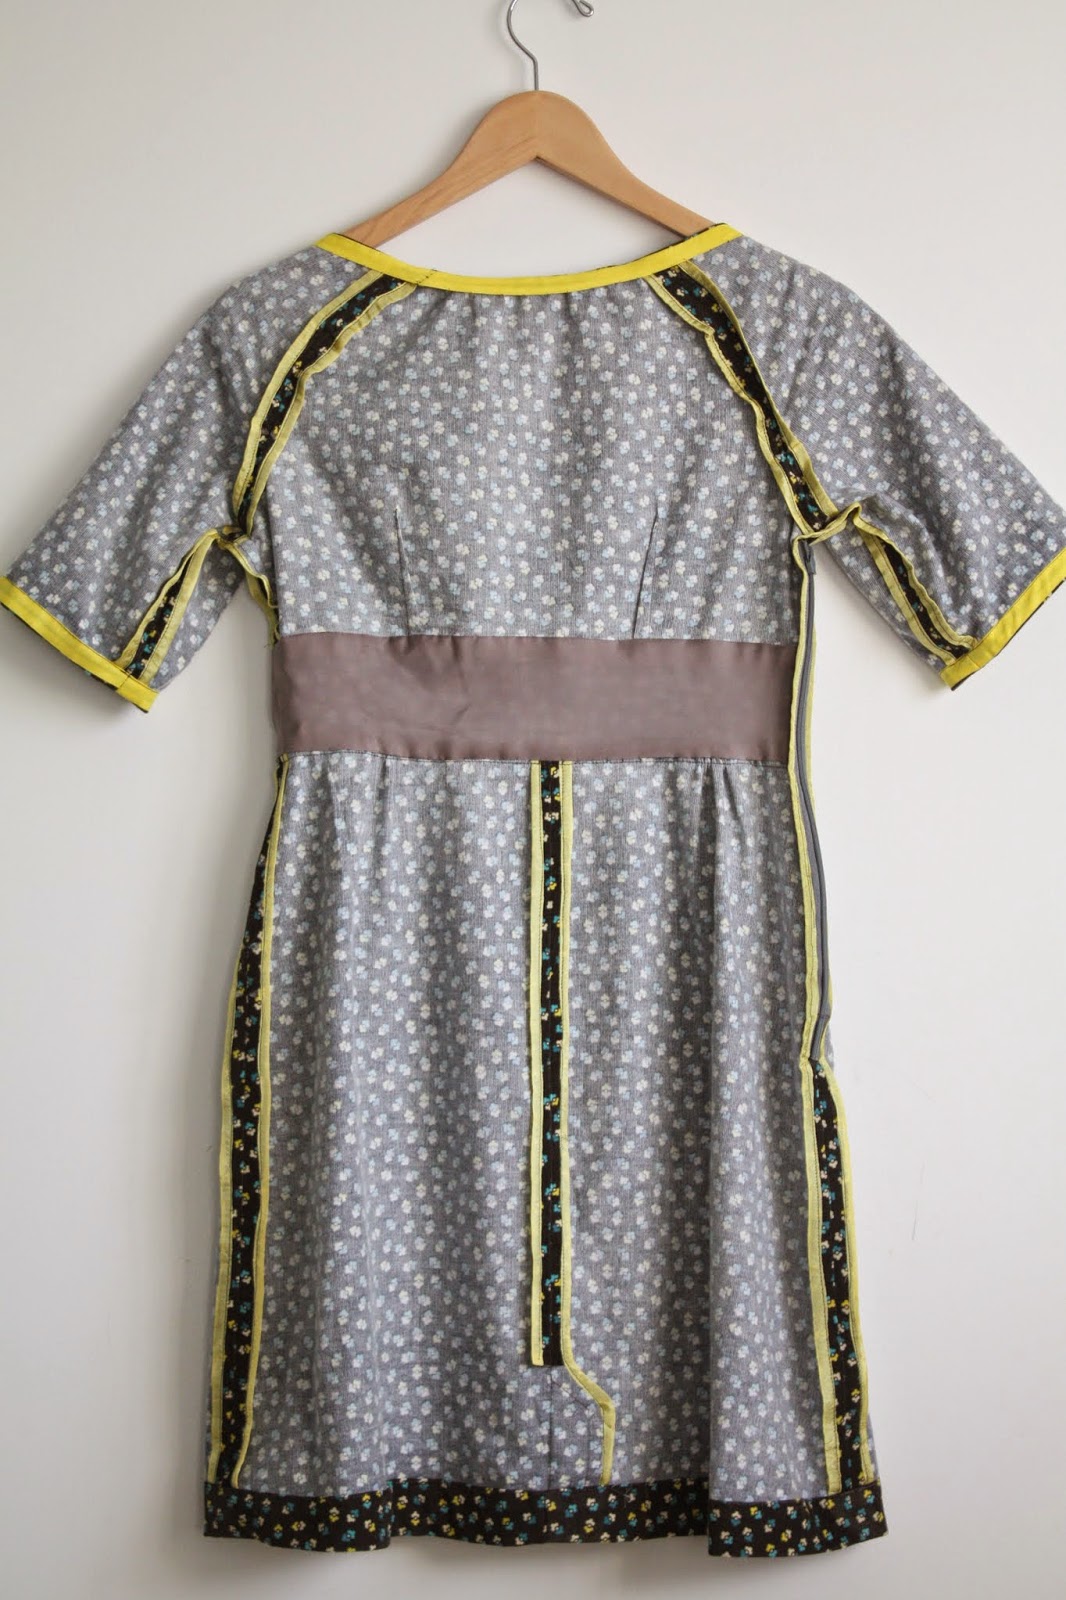
The dress pattern includes a back kick pleat.  This feature is completely unnecessary, since the skirt is fairly wide and certainly doesn't hinder movement.  So, since it looked a bit odd, I sewed down the seam (you can see the remnant of the pleat above).
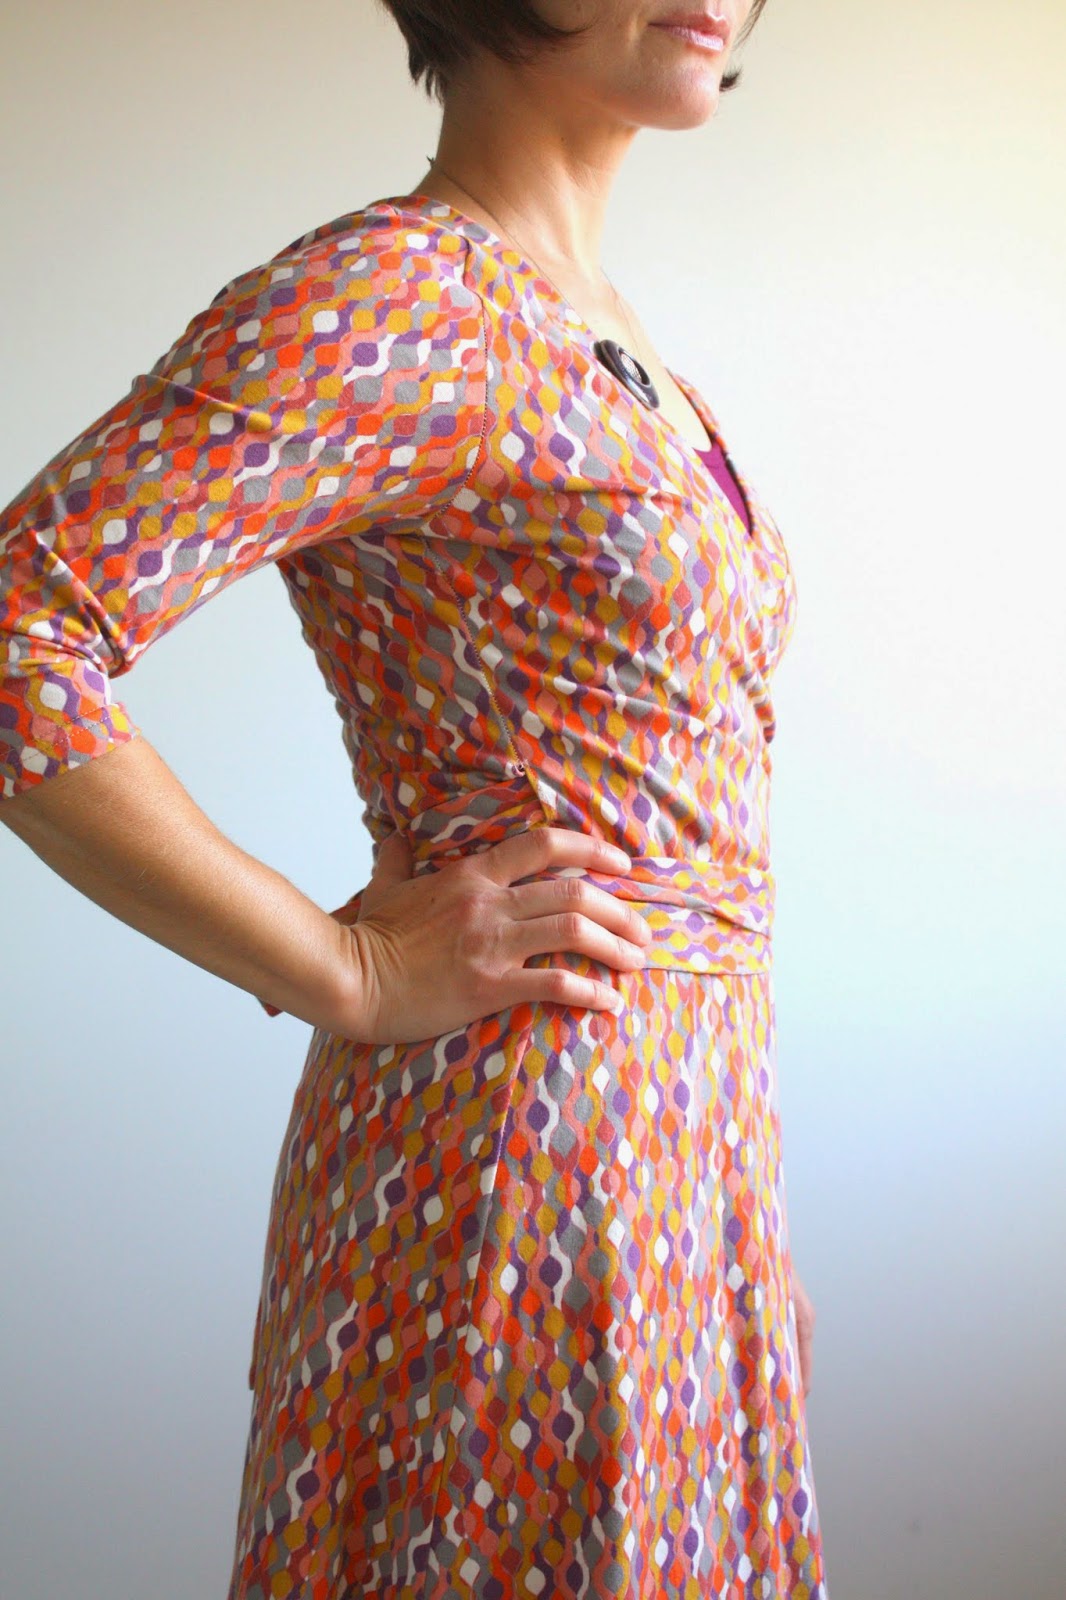
I used Hug Snug on all the seams, which makes the inside look better in the absence of a lining.  I definitely still need some practice with this product, but I really like the outcome--it give the garment a vintage-y feel which matches the fabric pattern.
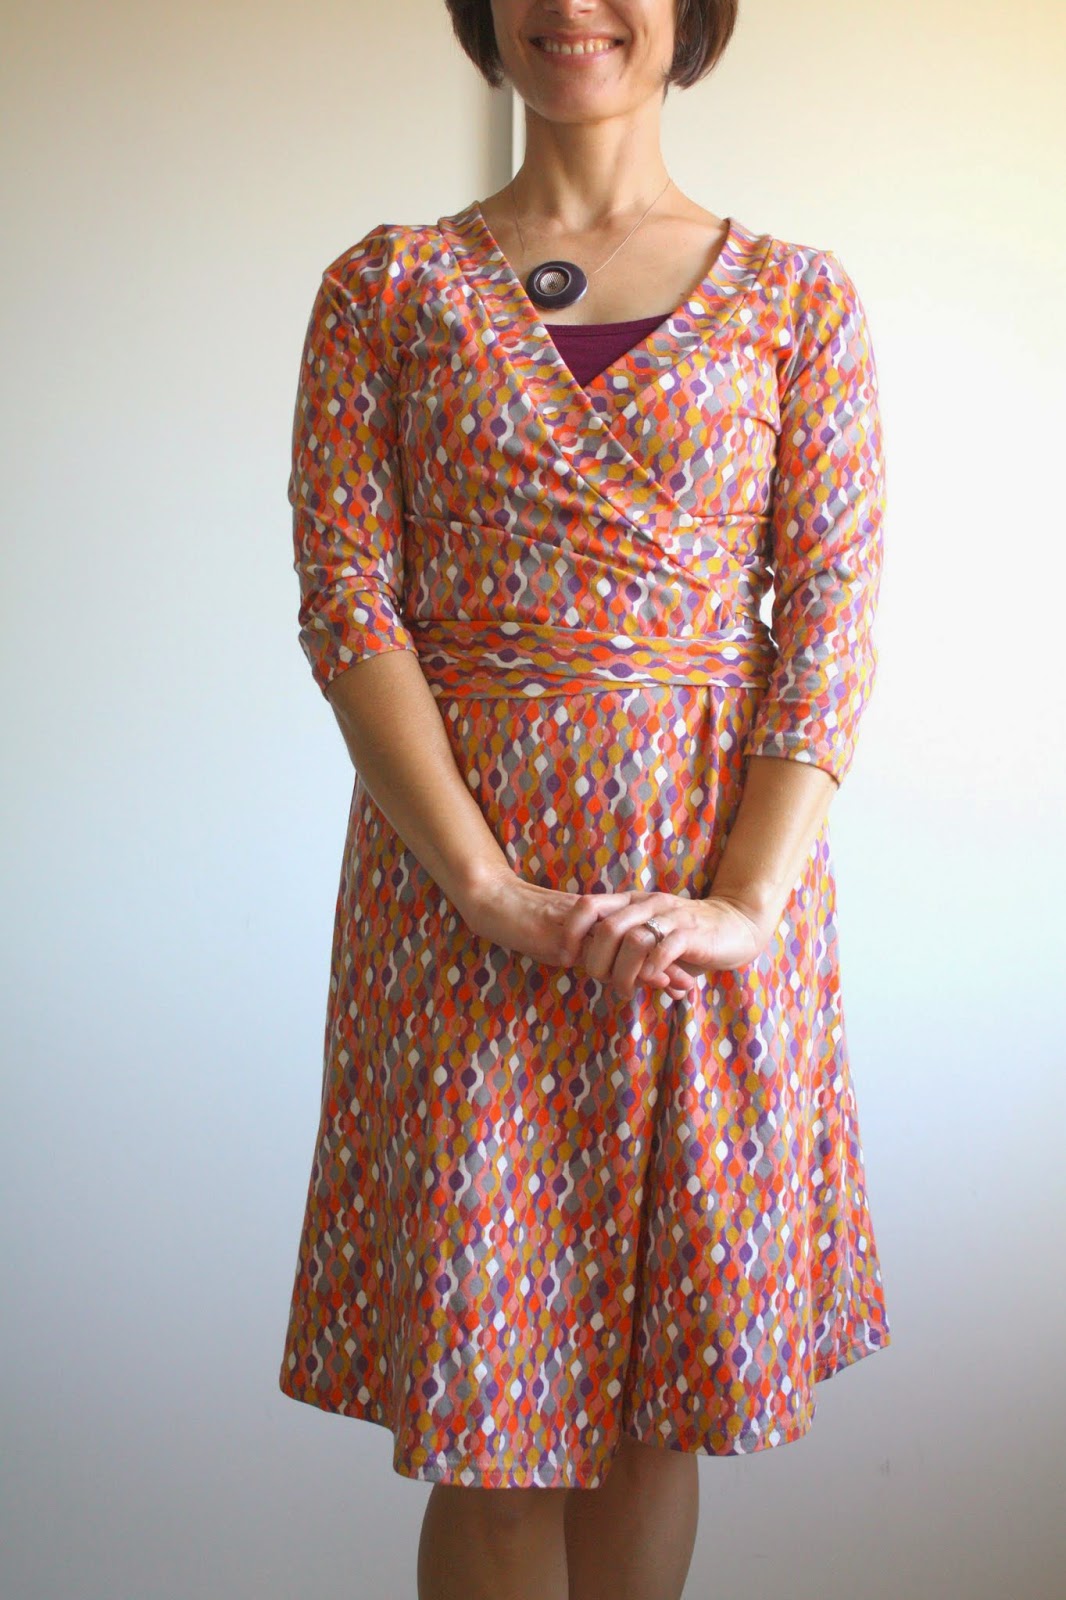
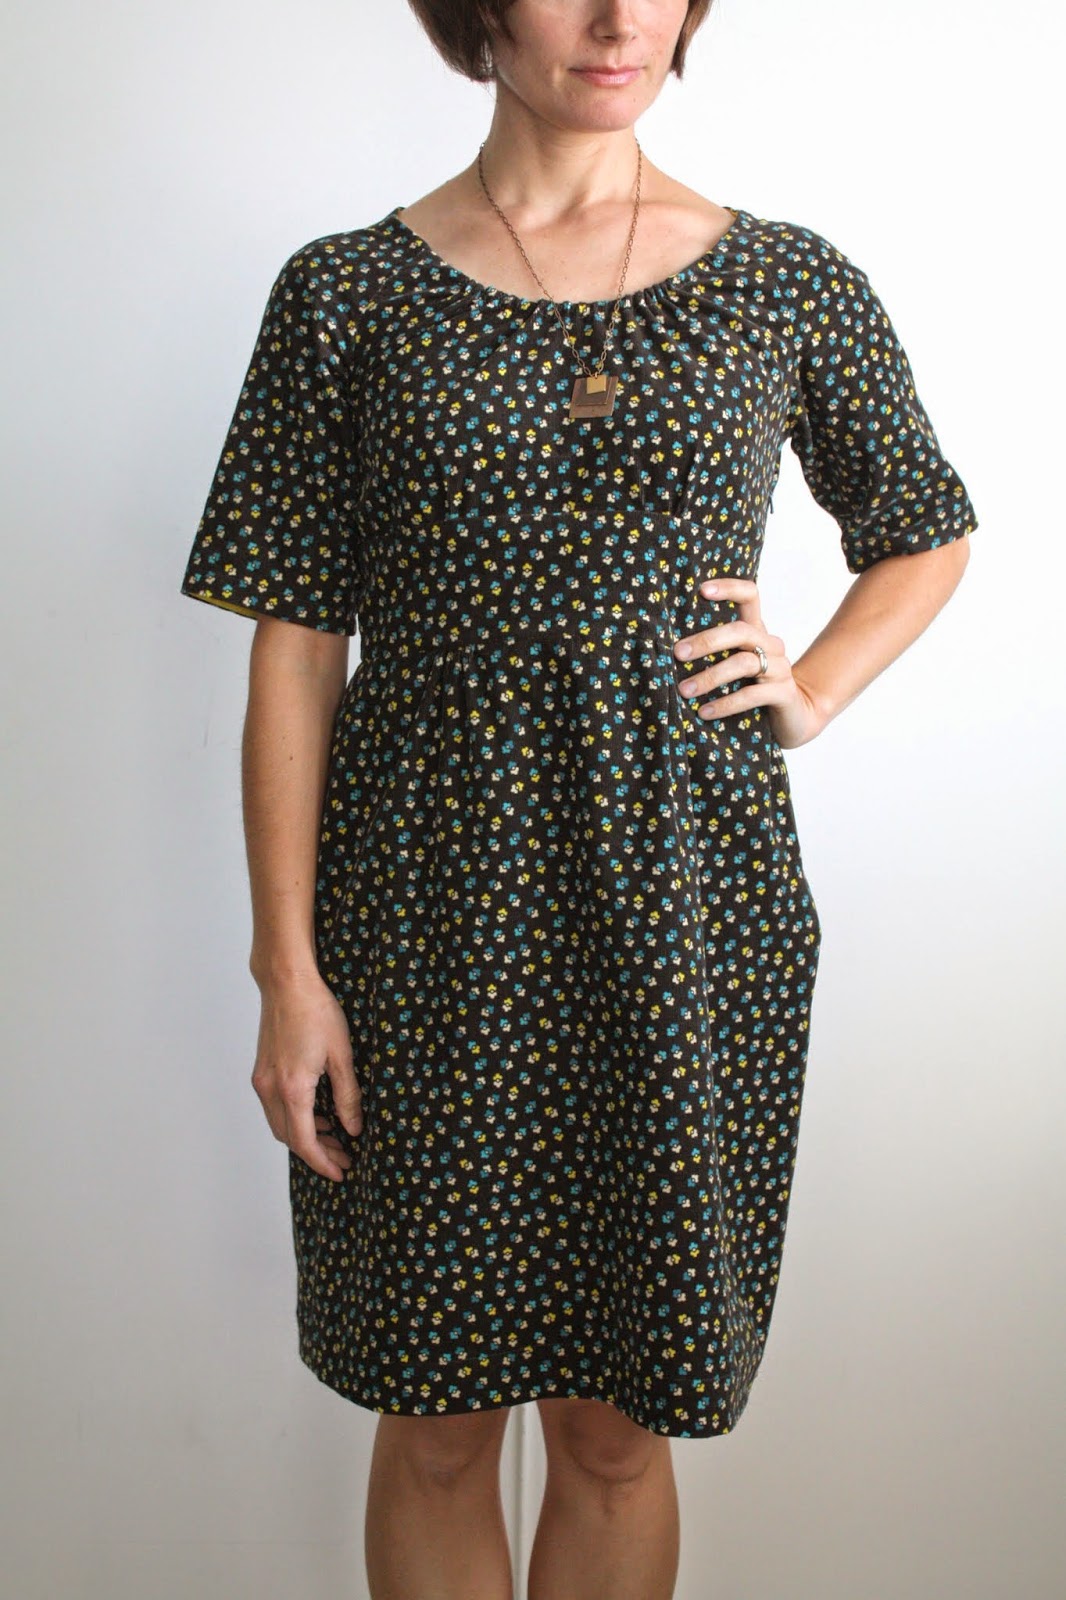
Okay, so that was a rough critique of the Dahlia pattern.  While I've liked many of Colette's other patterns, I'm definitely not a fan of this one.  I'm sure with a different fabric it could look a bit more stylish, but with all the other issues, I won't be making another.  I'd like to wear this still, so I'll be on the lookout for a scarf, or bold necklace...something to make it more modern.
Also....I'm considering chopping off the sleeves to make more of a cap style.  What do you think?

Anyone out there have any luck with the Dahlia?

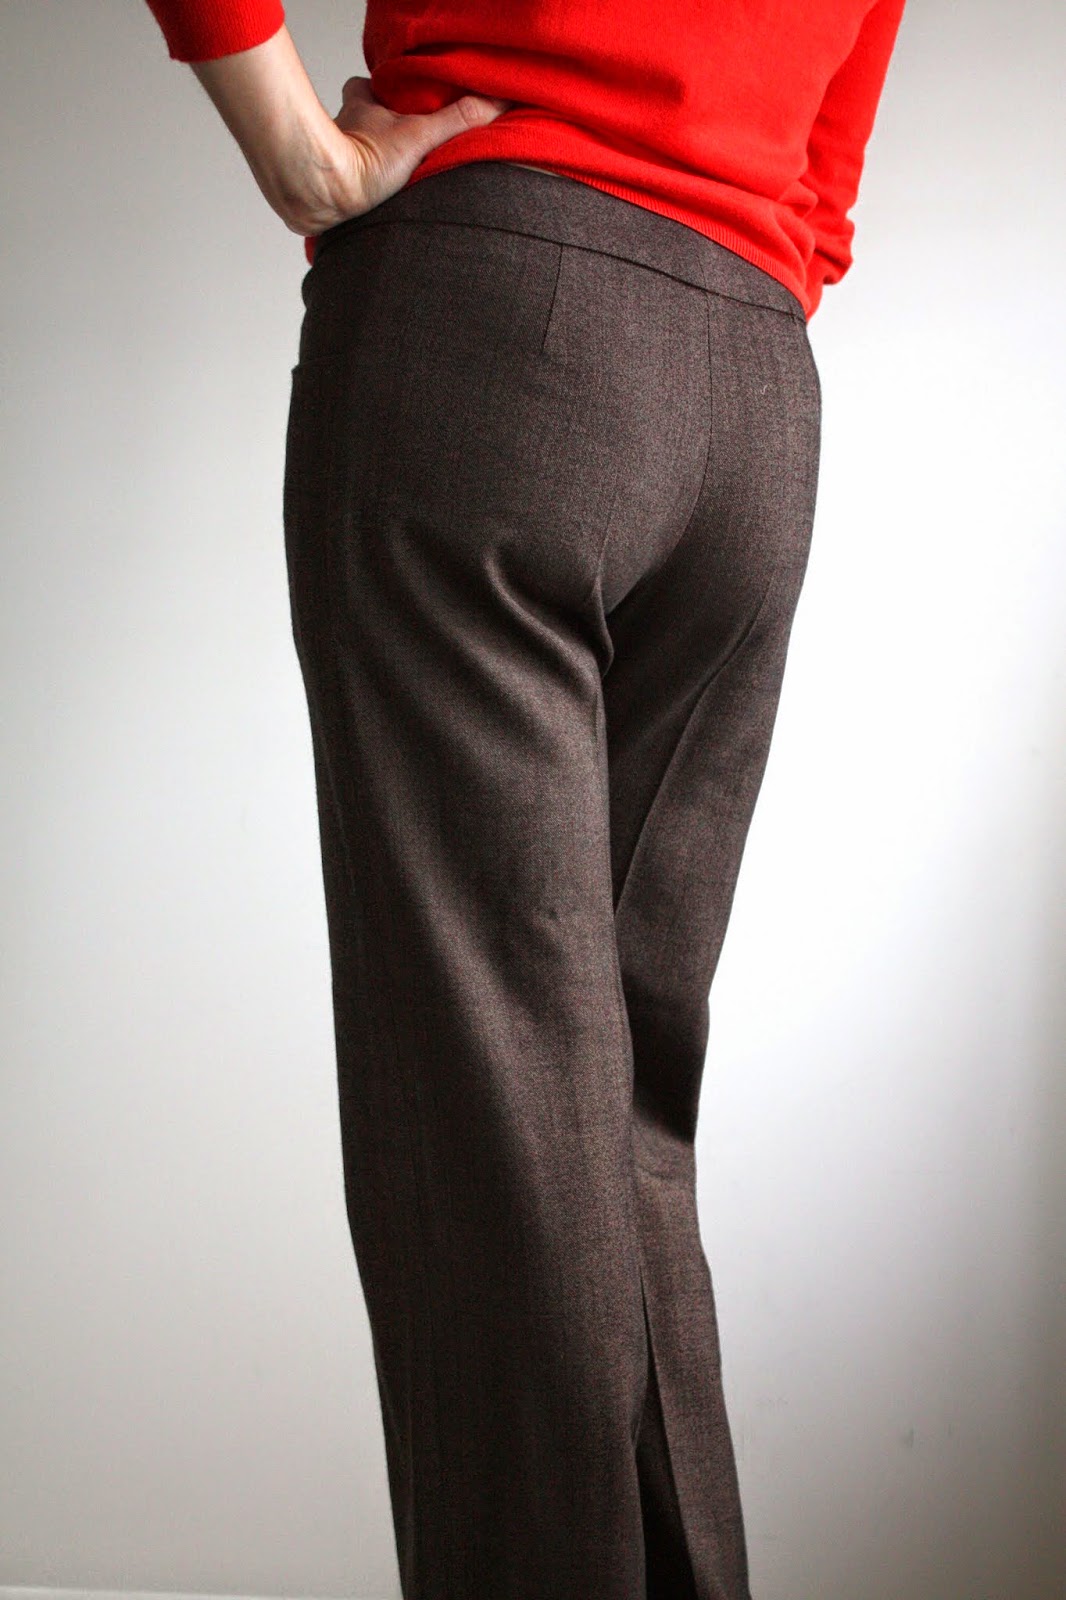
Sewing Resewlution 2014, November garment #1.  Self-drafted trousers are the likely next project...