Sunday, October 26, 2014

Self-drafted blazer!

See this blazer?  I designed, drafted and sewed it myself!  And since I'm no longer actually attending lecture (conflicts with my teaching schedule), I'm using the book and my professor's office hours to get the job done!  (By the way, here she is, walking through the construction of the jacket on YouTube.  She's an amazing sewist!)

This most recent project for my patternmaking class isn't due until this Thursday, but since I had all of last Friday to sew without kids or lectures to write,  I started and finished it in about 9 hours straight  + an hour or two making adjustments yesterday and today.
The pattern itself was based on a jacket sloper, which was based on a torso sloper that was altered from a bodice sloper of my own measurements.  Phew!  It was a lot of work to even get to the point where I could start making the jacket pattern (hence my radio silence over the past few weeks)!  I based my design on this much more stylish jacket from Boden.  I liked the armhole princess lines, flap pockets, and rounded hemline.  Clearly, getting my vision into a flat pattern is going to take a little work :)

The style itself has a two-piece sleeve with semi-faux vents and is fully lined.

As for the fabrication...well...for the assignment, we were supposed to sew the jacket in muslin, but clearly that wasn't going to be worth my precious time, so I sewed it up in some vintage 100% cashmere wool I purchased last year for a steal, and silk lining fabric from Britex.  The lining is a bit on the crazy side, but I kind love it.

The buttons are leather, slightly domed with a shank, also from Britex. 

I made some fit adjustments during construction, taking the shoulders in 1/2" on each side and reducing the princess seams all around by 1/4" each.  The fit could use some additional help (reduce the chest and shoulder width more, and I think the back, too, since it seems to have some vertical lines that I only saw in these photos!).
Over the weekend, I had the opportunity to meet up with some fabulous Bay Area sewists (I'll be adding a blog list of the locals soon).  Among the very talented group was Beth, from SunnyGal Studio, a jacket sewing expert.  She gave me some excellent tips for improving the overall look of the jacket.  So, when I got home, I unpicked part of both sleeves to make them more smooth (that right one could still use some work, sorry Beth!), added sleeve heads (made out of some loose weave linen) and "clapped" as many seams and hems as I could.  
Here is my make-shift clapping tool and sleeve press board.  Yes, that's a tunnel from my son's train set--the rounded top actually works really great!
Overall, I'm super pleased with my finished product and with a few more minor tweaks, I have a great go-to blazer pattern.  And, I have enough leftover cashmere and silk for a matching skirt!  You know, so I can really work that professorial vibe.
My littlest man was "helping" with the photos!
Next up for class is drafting trousers from measurements--I'll be making the sloper, instead of modifying one like usual.  Looking forward to it!

Sewing Resewlution 2014, October garment #1.  Wow, just got that in under the wire!

Monday, October 13, 2014

Go get some fabric for 30% off!

Okay, I know this notice is coming mere hours before the end of the day, but I've been at a wedding New Orleans for a long weekend, so hopefully we can all understand the reason for the delay :) Anyhow, Britex is having a 30% off sale on EVERYTHING on the website (and in person, if you can manage to get to the city) until midnight tonight (PST).  

Here's what I bought (all for Pattern making class projects for the rest of the semester):

Leather buttons and silk lining for my upcoming jacket.
Lovely stretch wool for trousers.
Wool for a full suit.

Guys, by the end of December, I'll have drafted a skirt (done, here), lined jacket, trousers, and bathing suit.  And the final project is a full suit.  A suit!  I can't wait until I acquire the skills necessary for that!


Monday, October 06, 2014

Tutorial: Hong Kong finish + underlining in one step

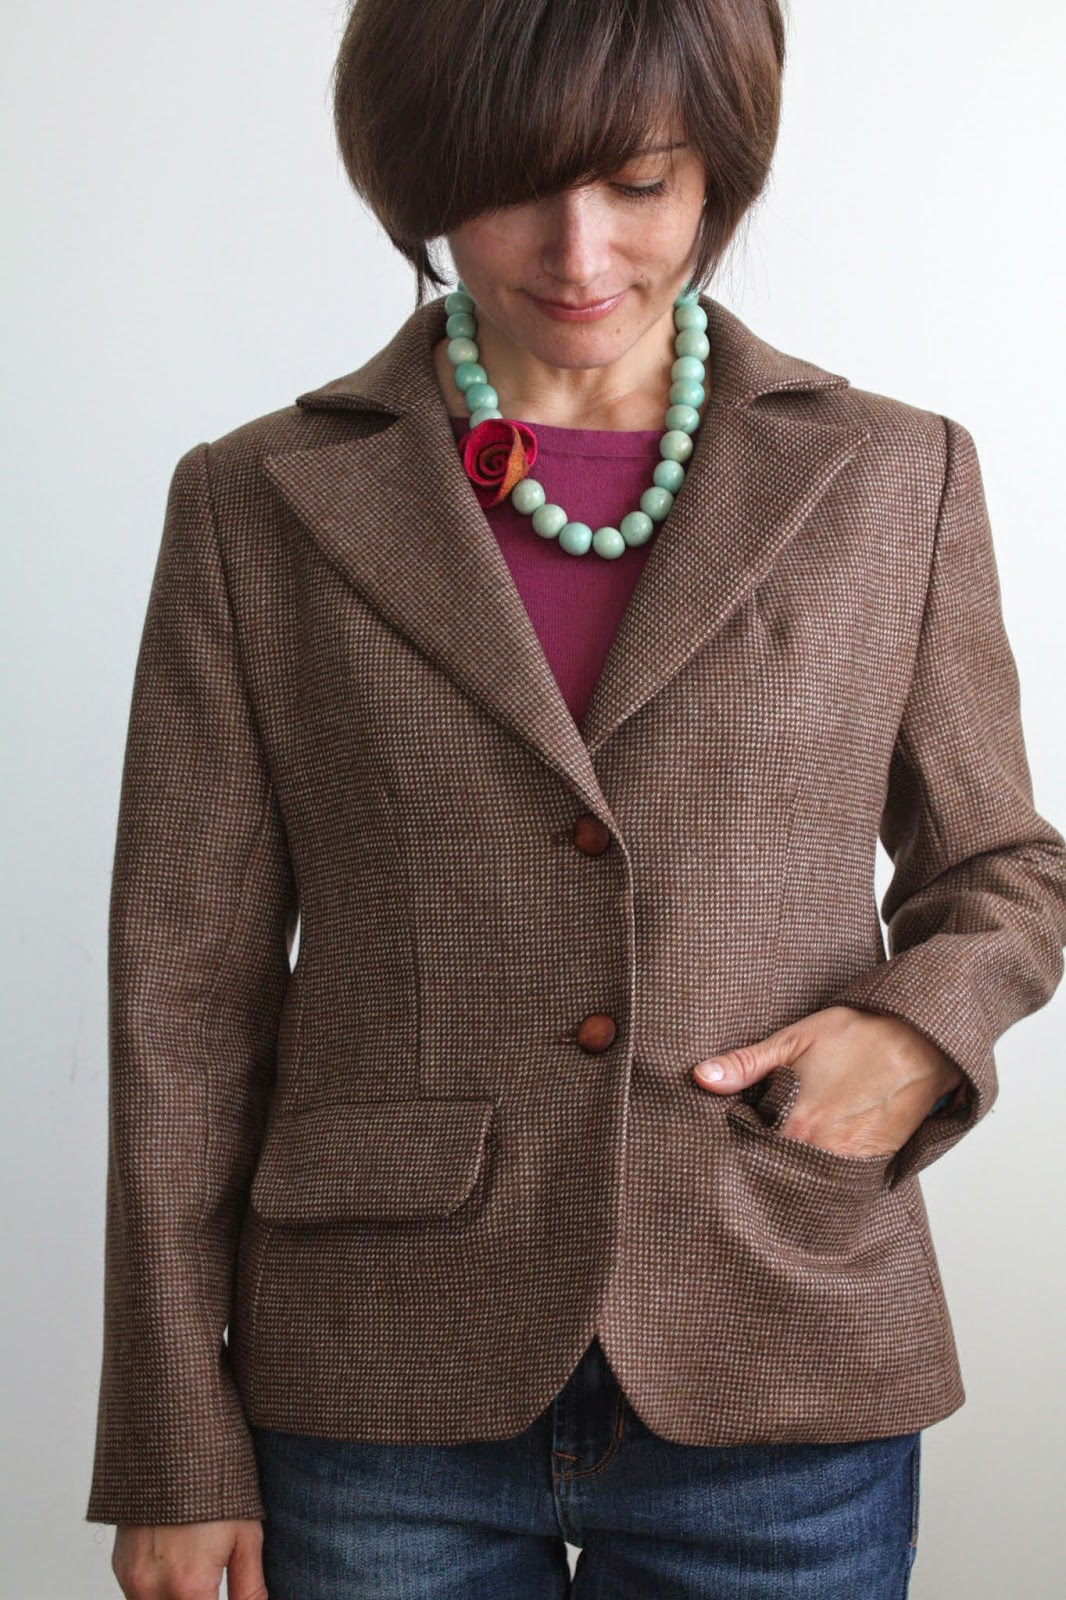
A slim fit wool skirt such as the Charlotte really begs to be lined.  Adding a layer of smooth and slippery fabric makes a wool skirt more comfortable to wear (especially with tights) and extends the life of the garment. Sewing a lining is fairly simple, however, there's another technique that serves the same purpose: underlining.  

In general, underlining is used to stabilize fabric, add weight and "heft" to a lightweight fabric, or add opacity to a transparent fabric.  Using normal lining fabric, such as Bemberg, lightweight silk or even cotton batiste to underline a garment gives the same benefits of a a skirt lining, with a bit less bulk. Typically, the underlining fabric is cut to the exact size of the pattern pieces and sewn to the fashion fabric at the very edges.  The pieces are then dealt with as a single layer.  Since the seams edges will be visible on the inside of the garment, the raw edges are finished together, either with an overlock stitch or a Hong Kong finish.
Enter the combined Hong Kong finish + underlining method.  By cutting and sewing the fabric and underlining in a slightly different way, you get a beautifully finished seam and underlining all at the same time.  It takes some patience and accuracy in cutting and sewing, but the results are so worth it! Ready to dive in?  Let's get started!
In addition to everything else you need to sew a skirt, you'll also need an accurate clear ruler, marking chalk (I LOVE this Clover roller chalker) and your rotary cutter.
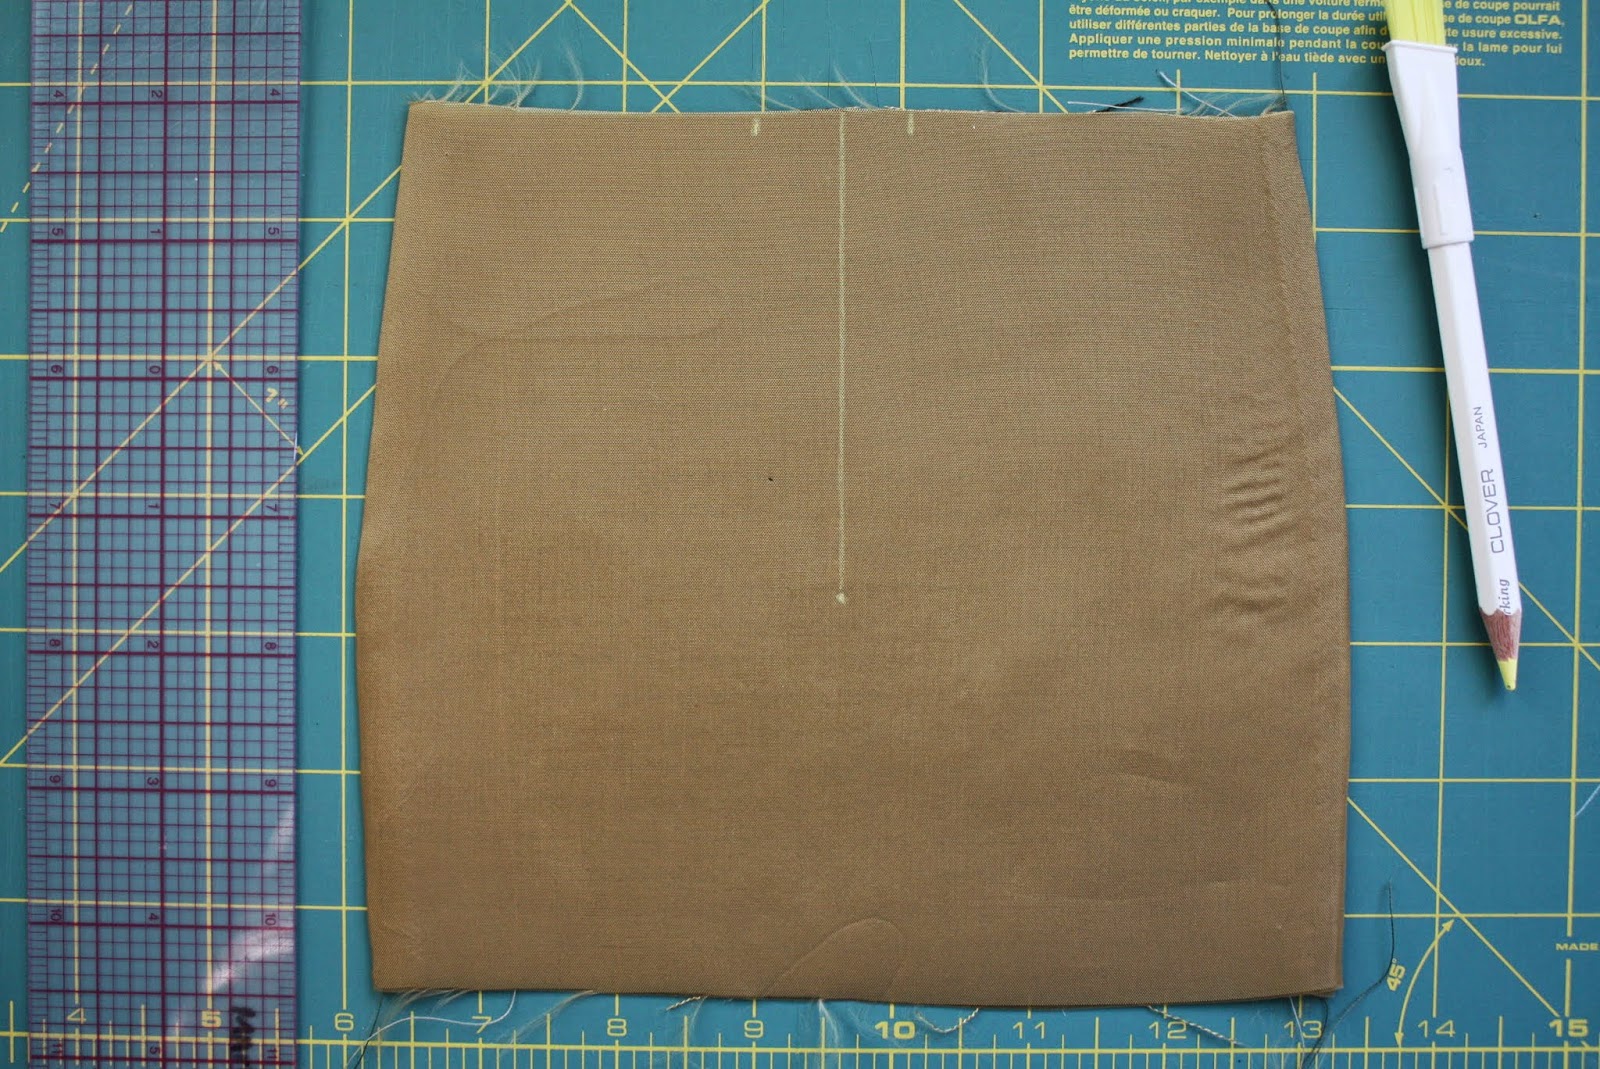
For this tutorial, I've made a little "mini" version of the skirt Front so the big picture is easier to see.  Start with cutting out the front and back pieces in fashion fabric.
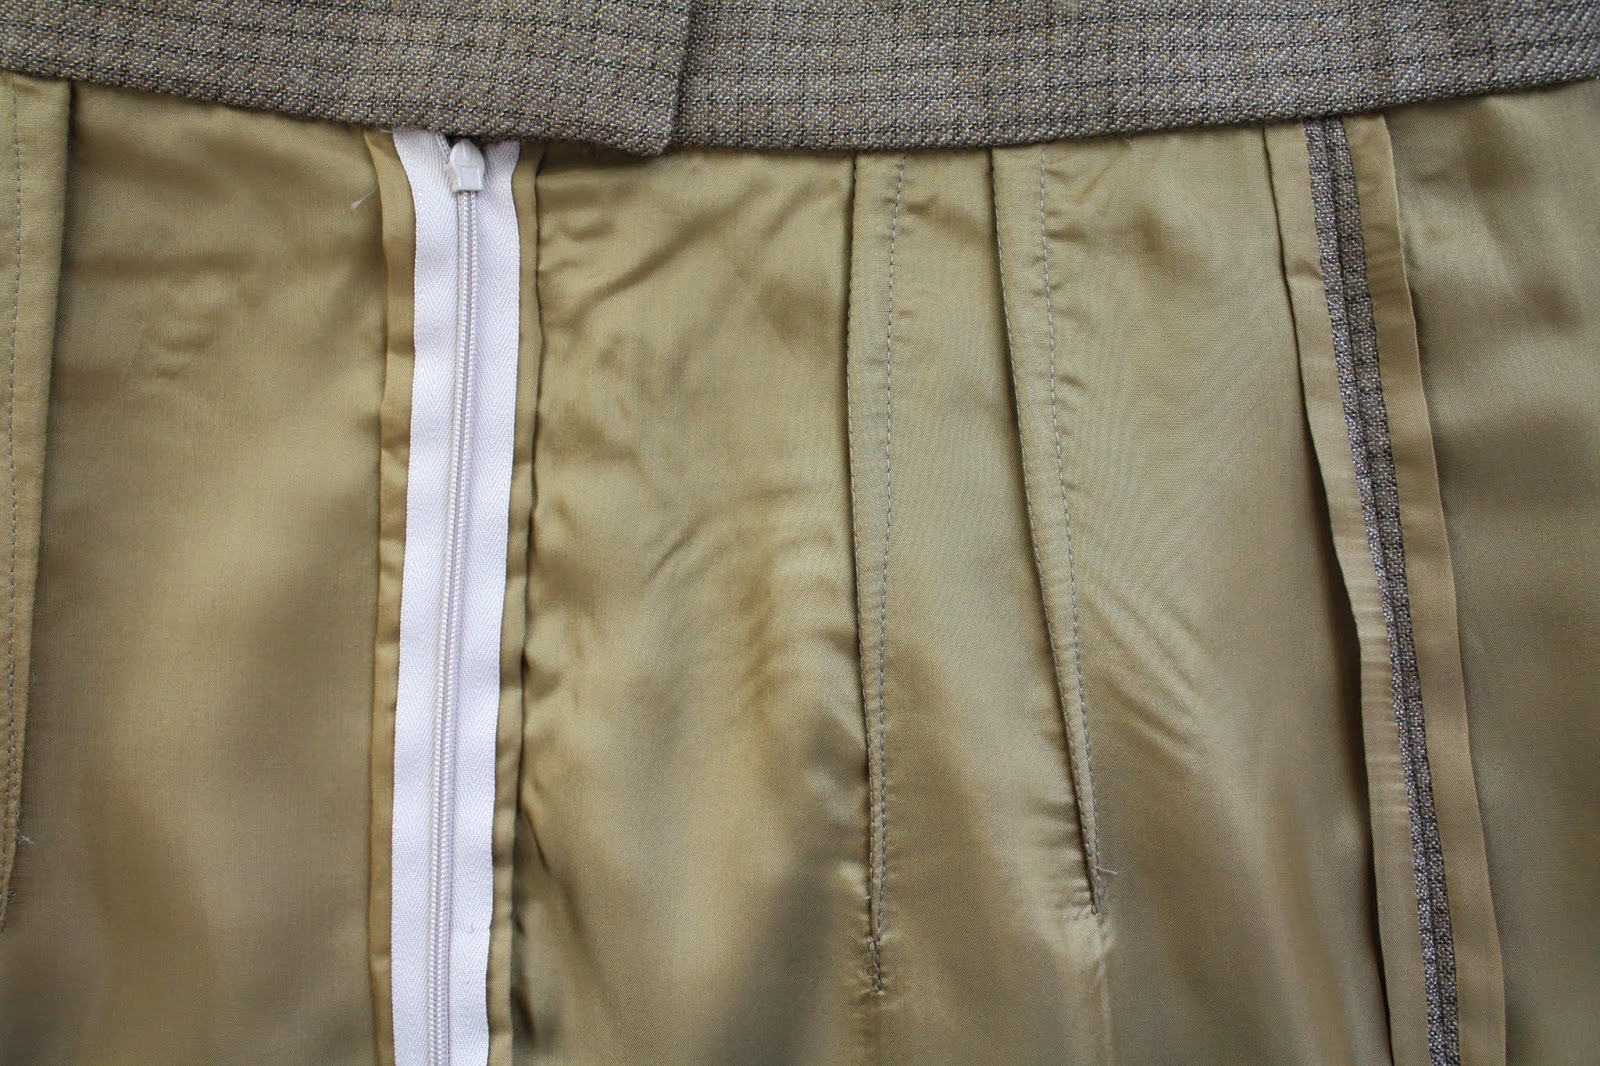
Lay the pieces on your well-pressed lining fabric.  Use a few pins or weights to keep the fabric from shifting around.  Then, along the vertical seams only (side/ back seams), mark an additional 5/8" seam allowance.

Very carefully, cut the lining fabric using the new guidelines at the side/ back seams, and cutting at the normal cut line for the horizontal edges.  Here's what it looks like:
Now, with right sides facing, pin the side seams of the lining and fashion fabric.  Obviously, the lining fabric is wider, so they will not lie flat.
Find yourself a 1/4" presser foot and carefully sew EXACTLY 1/4" from the raw edges.  

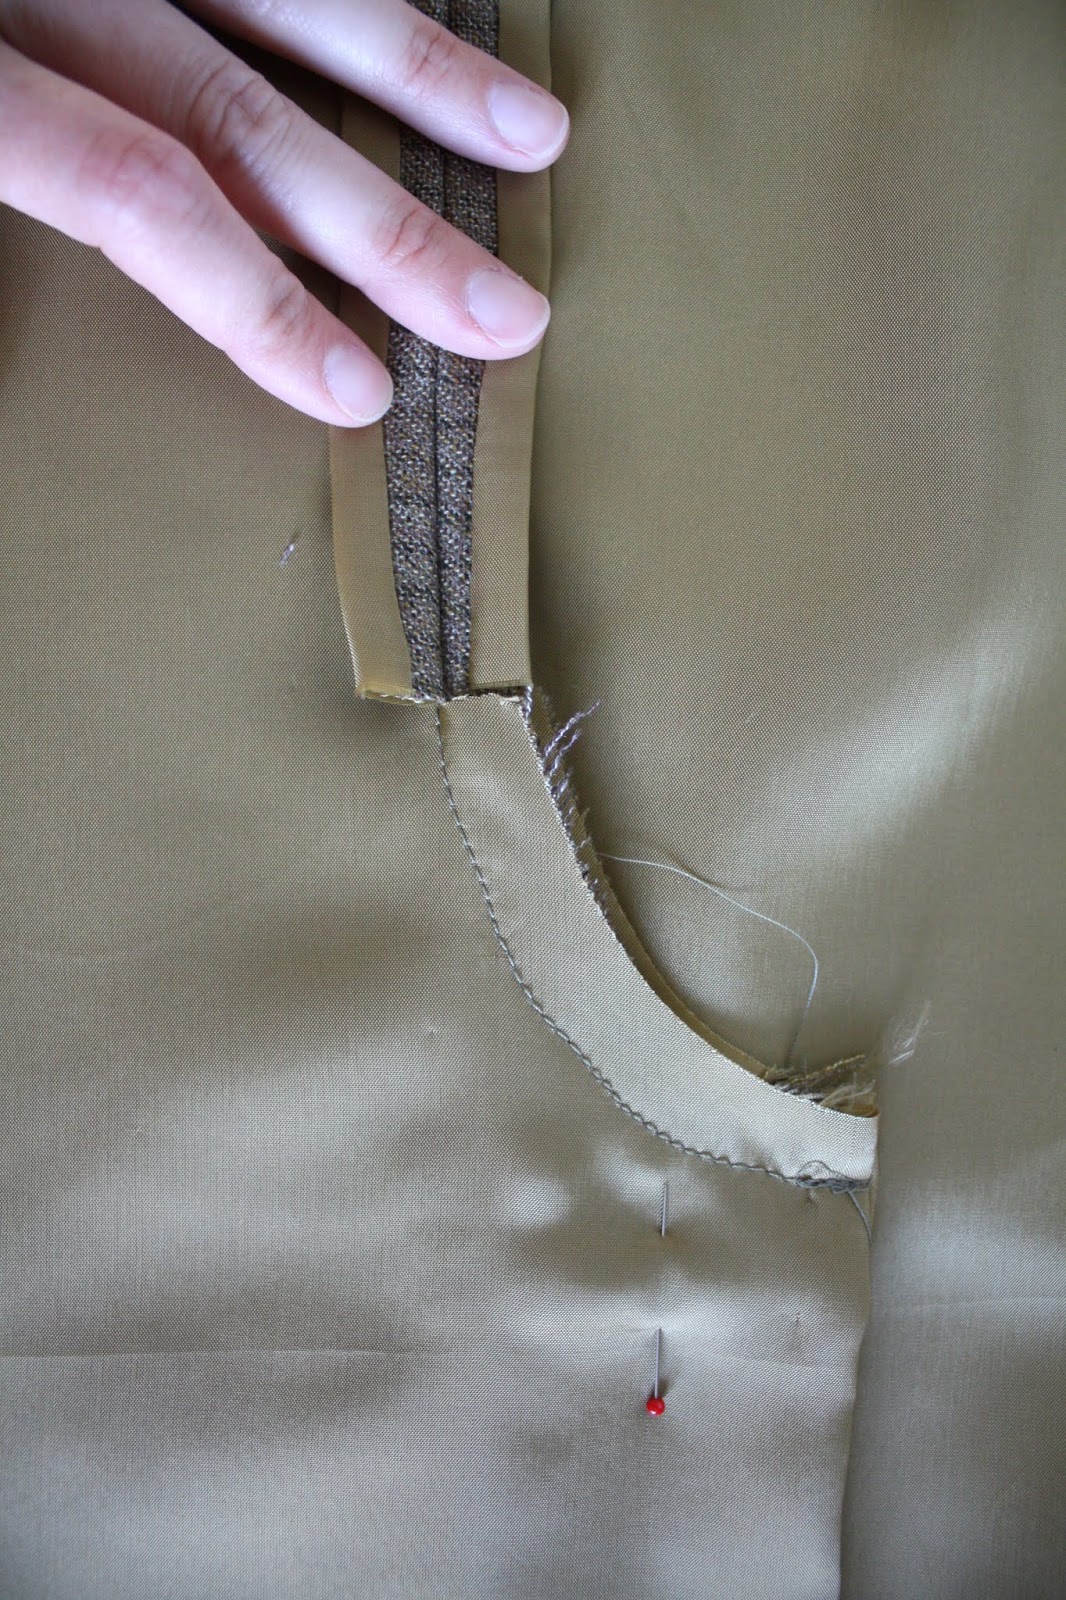
Turn the fabric inside out.  Both right sides should now be facing out.
Wiggle the lining/ fashion fabric so that the lining fabric goes exactly around the edge of the fashion fabric without creasing the fashion fabric.  Carefully press.  

Once pressed on both edges, the fabric and underlining pieces should be even, with no bunching, pulling or creasing.  Since you haven't trimmed any of the fashion fabric from the sides, you can sew the pieces as normal, with a 5/8" seam allowance.
Sewing darts for the skirt needs a little special attention for underlined fabric.  First off, mark the dart legs and vanishing point.  Draw a line connecting the vanishing point to the middle of the dart.  This is your sewing guide.
Sew down this marked line (the middle of the dart), beginning your stitching a centimeter or so away from the vanishing point and sewing toward the raw edge.
Fold the dart along the sew line and sew as usual.
Press over a ham.

Continue sewing the skirt as usual.  If you've added a kick pleat, there are just a few more steps.  Clip the seam allowance right above the curve and finish the rest of the pleat as described in my earlier post.
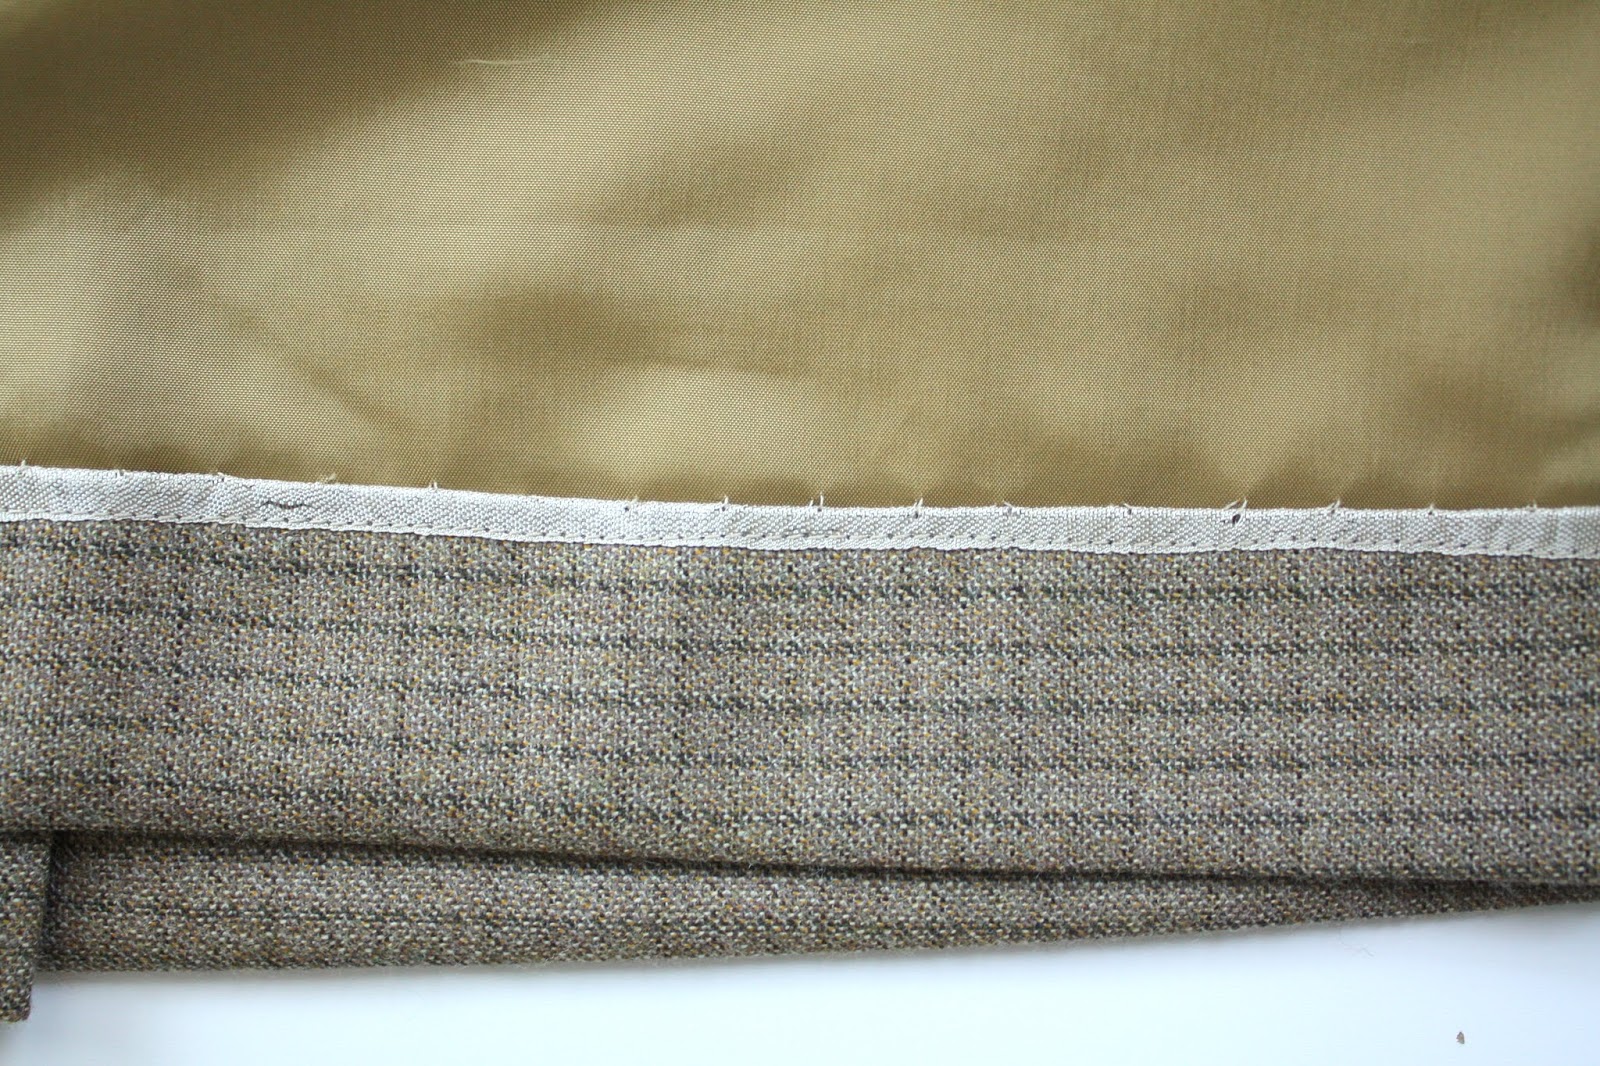
For the hem, I used rayon seam binding to finish the edge and then used a blind stitch (only catching the underlining) to hem.
With a beautiful finish like this, it will be hard to keep from showing it off!